Friday, August 12, 2011

Book Fair

I believe I've mentioned before that I work in an academic library. It's not only tons of fun, but it also provides me, oddly enough, with oodles of supplies for various craft projects. We've been going through an enormous collection review, weeding out old, out-of-date books. Some are donated to different charities, but some are just beyond redemption and are recycled. A co-worker of mine, knowing my penchant for strange items that can be reused, pulled a book out of the recycling the other day, and of course that means PROJECT TIME.

You might remember my first Kindle cover that I made from a composition notebook.
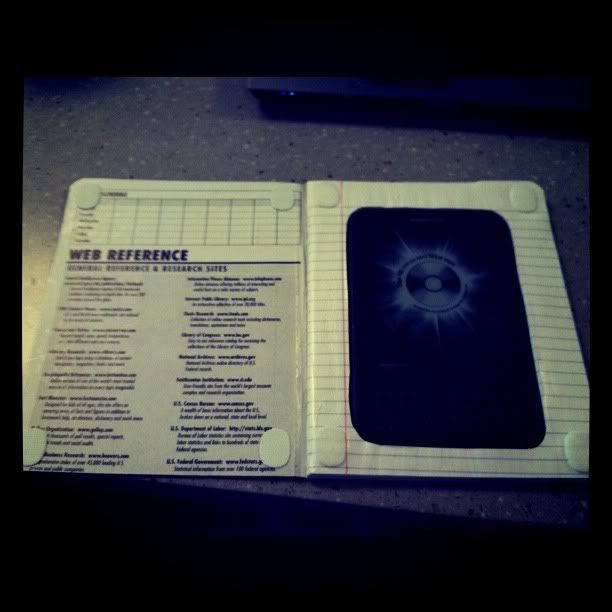


Yes, I am brilliant.

That one cost me somewhere around 50 cents. Outrageous. I decided to use the book pilfered from the trash as Kindle cover v2.0. I really liked my composition book one, but it's just *slightly* too shallow. The velcro gives it enough space to cover the Kindle, but I'm terrified I'll crack the screen or something. The book that was found for me was definitely thick enough to be a little more protective.
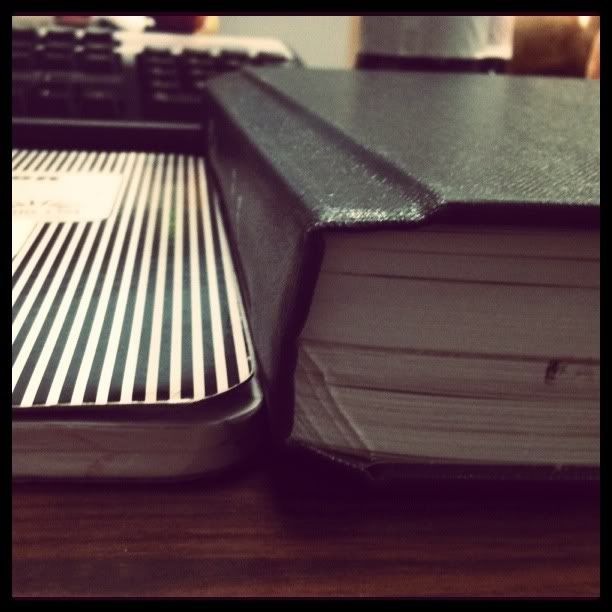


Definitely.

And so...

I took this.


Yeah, not even I want to read this.

And so I got to cutting. And cutting. And cutting.

I cut the front part of the book to fit the Kindle, rounded edges and all. I'll probably sink some velcro down there too so that it closes flush (more on that in a later post.)
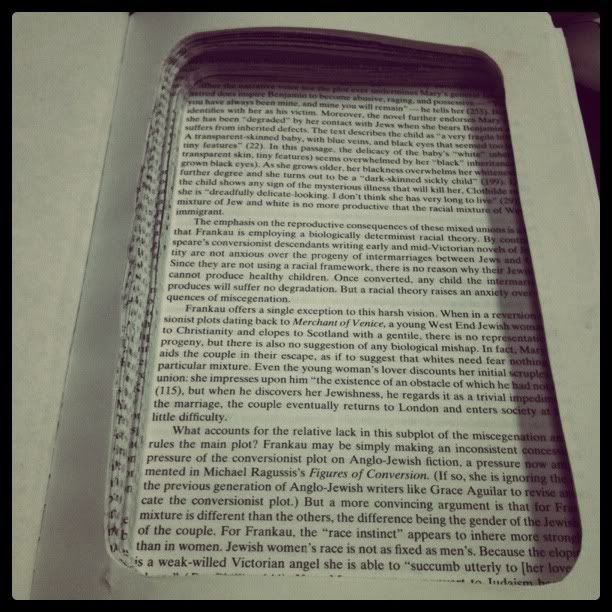


The front. Much neater this time.

There was a lot of book left over once I had cut deep enough to fit the kindle, and I wanted to get rid of some of the weight, so I left about fifty pages and then started cutting again.

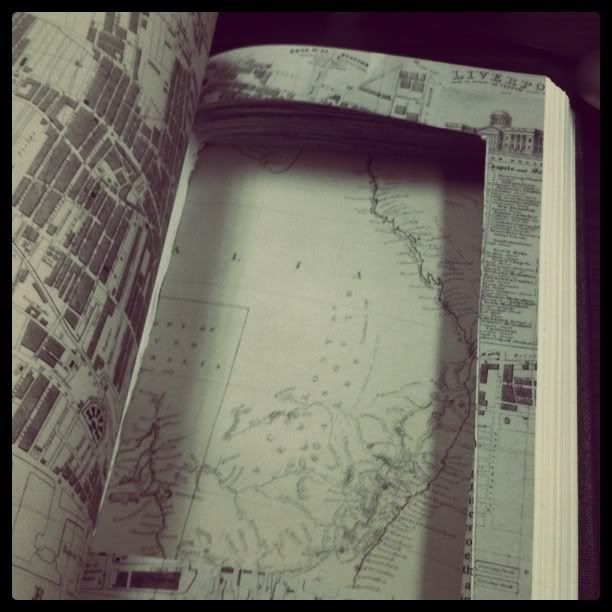

Not as neat this time though.

That left the edge to keep it from getting crushed, but cut the weight by a ton. Maybe not literally. But still. All that's left to do now is glue all the edges together and affix the velcro! Hopefully I'll get it done tonight.

And so I leave you with this image:


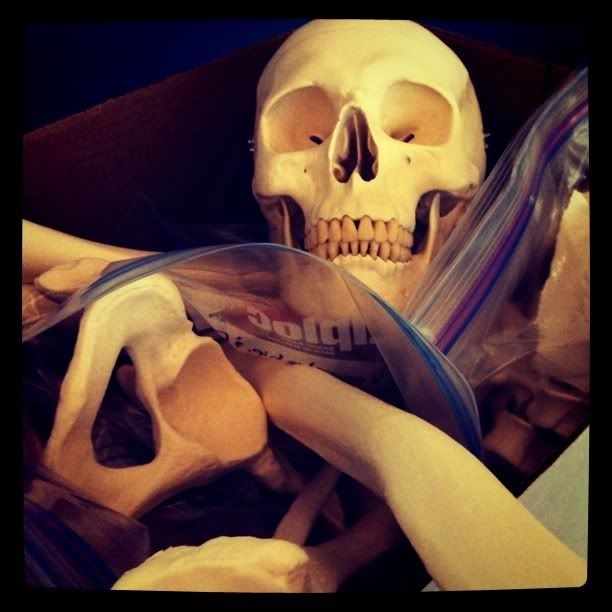
What happens to patrons who don't return books.

I'm joking.

Or am I?

Wednesday, August 10, 2011

The Ancient Mystery of Bread

Bread, its been around forever, we eat it everyday, but yet so many people are intimidated by making their own. I am here to tell you ladies and gents, its not that hard, and you don't need one of those stupid bread machines. Kneading bread is one of life's little stress relievers. Oh and did I mention home made bread on a normal basis costs pennies compared to buying bread from the store. The recipe I found for regular daily loaf bread is pretty darn fool proof. As you will see in the pictures, I chose to make this weeks loaves with wheat flour, as I am trying to be a bit healthier. The recipe I am giving you can be used with any type of flour, I promise! The main thing is good yeast that is fresh. And I promise, cross my heart if you dear readers have questions, I will answer them quickly as I can. Here's the recipe! Have fun with it!

Triple Risen Bread

3 cups lukewarm water
1.5 tbs. yeast
1.5 tbs. salt
.5 cup honey
.25 cup melted butter
6.5 cups flour (any type you want, seriously)

Step 1: Mix the first 5 ingredients together.
Step 2: Mix in flour one cup at a time until flour is blended in.
Step 3:  Flour a surface.
Step 4: Dump mixture out on the floured surface.
Step 5: Knead dough until it is no longer sticky, you will need to add more flour while you knead.
Step 6: Put dough in a large bowl.
Step 7: Cover with a dry dish towel and let bread rise to double its original size.
Step 8: Take out and knead again on a floured surface.
Step 9: Put back in bowl and let rise again.
Step 10: Grease and flour 2 bread pans.
Step 11: Take brad out of the bowl, cut in half, and form to fit into loaf pans, put bread in loaf pans, seam side down.
Step 12: Let bread rise to double its size in the loaf pans.
Step 13: Preheat oven to 400.
Step 14: Cut top of bread down the middle for split top bread loaves.
Step 15: Bake for 30 minutes, turning halfway through baking for evenly baked loaves.
TADA!!!!!


While normal bread is fabulous, sour dough bread is down right amazing! So while I was making my normal loaves I went ahead and made some wheat sour dough starter. Here is a great link that can tell you alllllll about making sour dough bread. http://www222.pair.com/sjohn/blueroom/sour.htm Its not the most beautiful process, but the end product is what really really counts!

Well that's all for me today folks! See you Sunday!

Tuesday, August 9, 2011

Weekend Roundup!

Hello everyone!

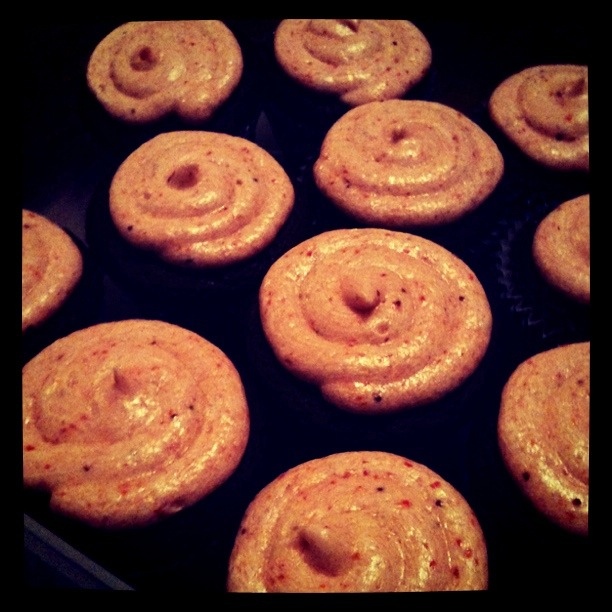
It was a busy weekend! Two of my friends celebrated their 22nd birthday Saturday (they're twins!) That called for CUPCAKES! I used this recipe for chocolate cake and fresh strawberry frosting. I have to say, I really enjoyed this recipe! The frosting tasted just like strawberries, and was delightfully pink (I added more puree than the recipe called for, but didn't have any problems with it being too runny.) The cake was nice and soft, although I think next time I'll used dark cocoa, since I like it super chocolatey. And they're lovely.


Mmmmm.

I've been dorking around with making a "princess" dress for my niece. It's been fun so far using the inspiration and patterns in this book. There's a lot of trim involved, because I can't help myself!


It's going to be a fun one. Tracing and drafting out seam allowances, not so much. I really do like the book, but I wish they weren't "European" patterns. It's nice that you can do with them what you wish, but it would be nice to have at least the standard seam allowances worked in.

Since I'm on a normal schedule for the next two weeks, I got to play with the chickens in the yard yesterday afternoon. We don't usually let them roam free anymore, after we had an unfortunate encounter with a fox carrying off one of our Buff Orpingtons. We still have three of our originals, including these girls:


Meet Thelma (the Dominique) and Louise (the Buff Orpington.) They're quite the pair. They do everything together. Our other original hen, Glorious Raptor (a mixed breed) seems to like hanging with the younger ladies, who are a bit wilder. In the background, you can see this lovely lad:


His name was Zha-Zha (he was quite the fancy chick!) However, given that he has DEFINITELY started crowing, he needs a new name. I'm thinking Ghengis Khan. Something fancy and exotic still, but a little more fitting of his masculine nature. In the background of this picture, you can see Bambi and Poofy Cheeks, our two Americauna hens who are starting to REALLY look like chickens now! They should be laying here shortly too! I'm guessing they were born at the end of April, so they should be around 5 months old. I'm really looking forward to some neat-colored eggs! A gentleman stopped by Sunday while I wasn't home and was really interested in the chickens, so hopefully I'll be able to trade off my extra roosters (Khan, and a black one I've now named Michael Jackson) for some new hens! Not pictured is the rooster I actually intend to keep (at least for now), a lovely black-bodied Maran cross like Michael, but with lots of red feathers. He's also very shy, which I like in a rooster (no more spurs please!)

Well, that's all I have for today, folks. Look forward to Patricia's post tomorrow!

Sunday, August 7, 2011

Meet Helena

This Sunday dear readers there will not be feats of cake or jelly or even gardening! No, this Sunday I want to introducing you to someone that has been hidden away in our storage for way way to long. I have named her Helena, she is a 1979 Singer Creative Touch Fashion Machine 1030. I found her at an estate sale for a whopping 20 bucks with the intact desk, original manual, and all of the Singer accessories. It was a totally exciting buy when I got it 3 years ago, until I got it home and realized that I had no space for her anywhere in the house. As you might remember Wed. I got rid of a mountain of clothes and a dresser just to bring her in. So here she is, in all of her vintage glory.

Friday, August 5, 2011

CAKETOPIA!

I doubt it will be any surprise to you, our dear readers, to hear that I, Sarah Elizabeth, have...


a cake problem.


This is in small problem. We're not talking "Oh, I like a bit of cake on my birthday!" We're talking "HolycrapImakelikeacakeaweeksothatIcanhavecakeeverydayandsometimesmorethanonceaday."


Yeah. That bad.


I know it's a foolish endeavor to try and cure myself of this cake fever, and so I've been challenging myself to only make *friggin awesome cakes*. I feel like I've done pretty well so far. I usually make them from scratch (angel food with buttercream and raspberries for a friend's birthday), but sometimes I cheat (boxed cake with rainbow chip icing/chocolate for my own birthday!) However, Pinterest has really upped the ante, showing me pictures of AMAZING things to do with cakes.


Including this baby:


It's rainbow. Cake. In a jar.

Holy crap.


And so I must have it.


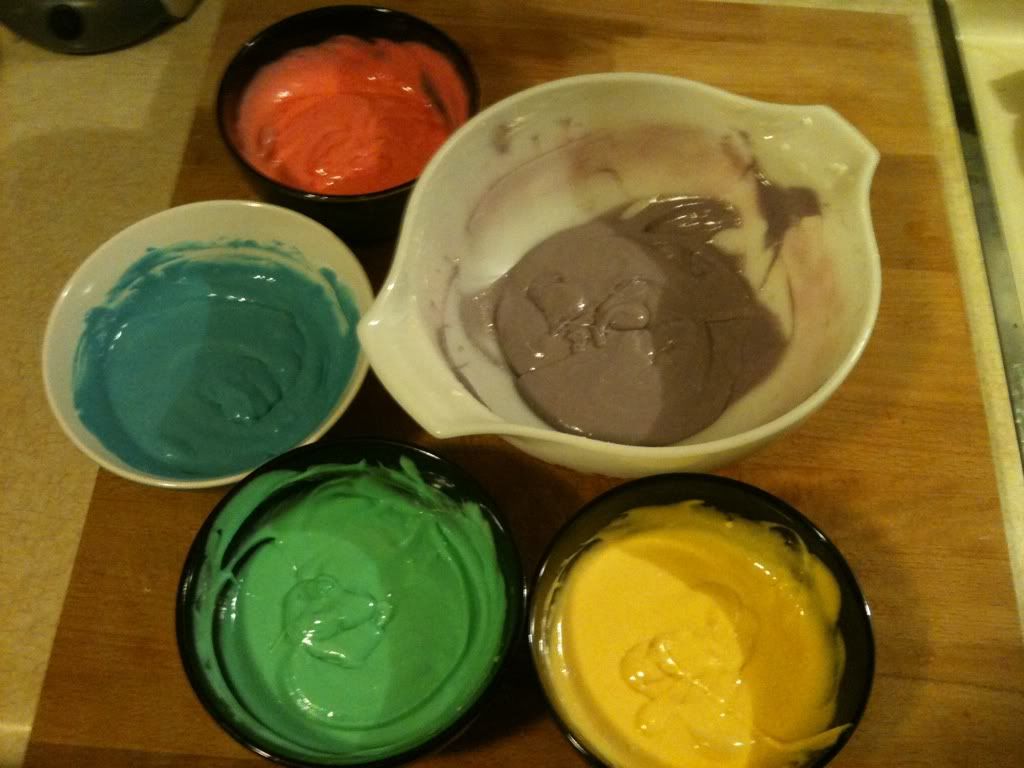
Five bowls of batter later, and I was on a roll.

The directions call for "neon" food coloring, but while I was shopping I saw that said food coloring was $4, almost as much as the 12 pack of reusable glass jars, and I gave a big "Oh no you di'int" in the middle of the grocery store. Also, the colors weren't that "neon", just ugly. Anyway!


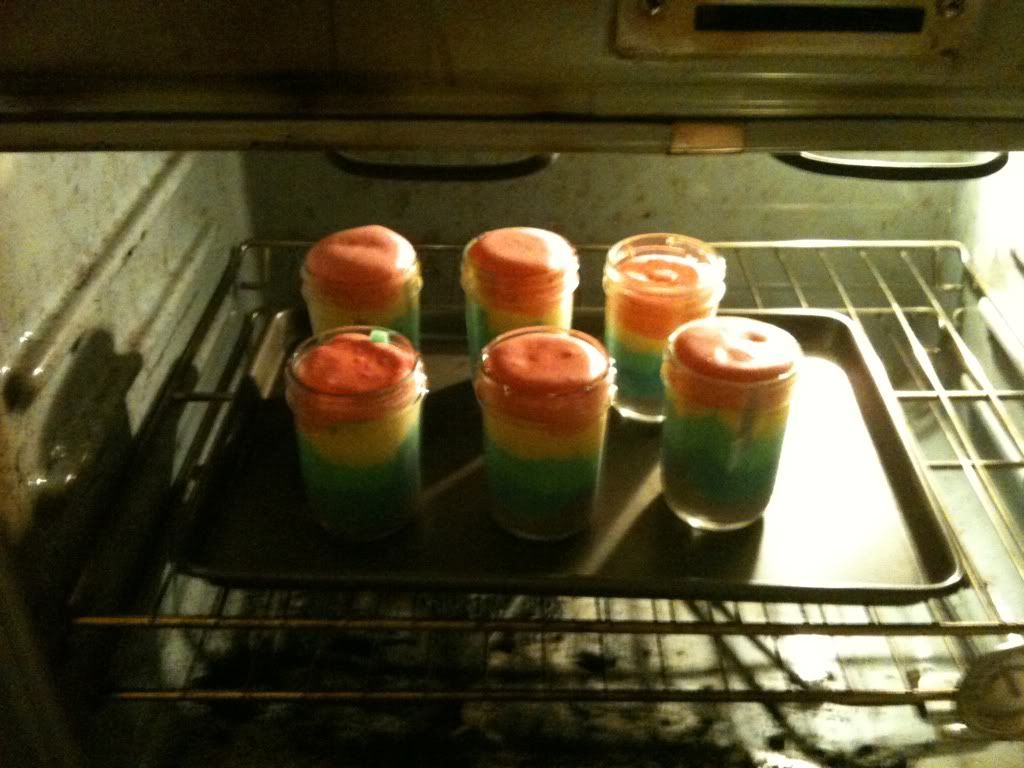
Mine were messy, but looked like delightful rainbow pudding at this point (and were just as tasty.) I'm sure some of you are having *slight* concerns about my methods here... foreshadowing!

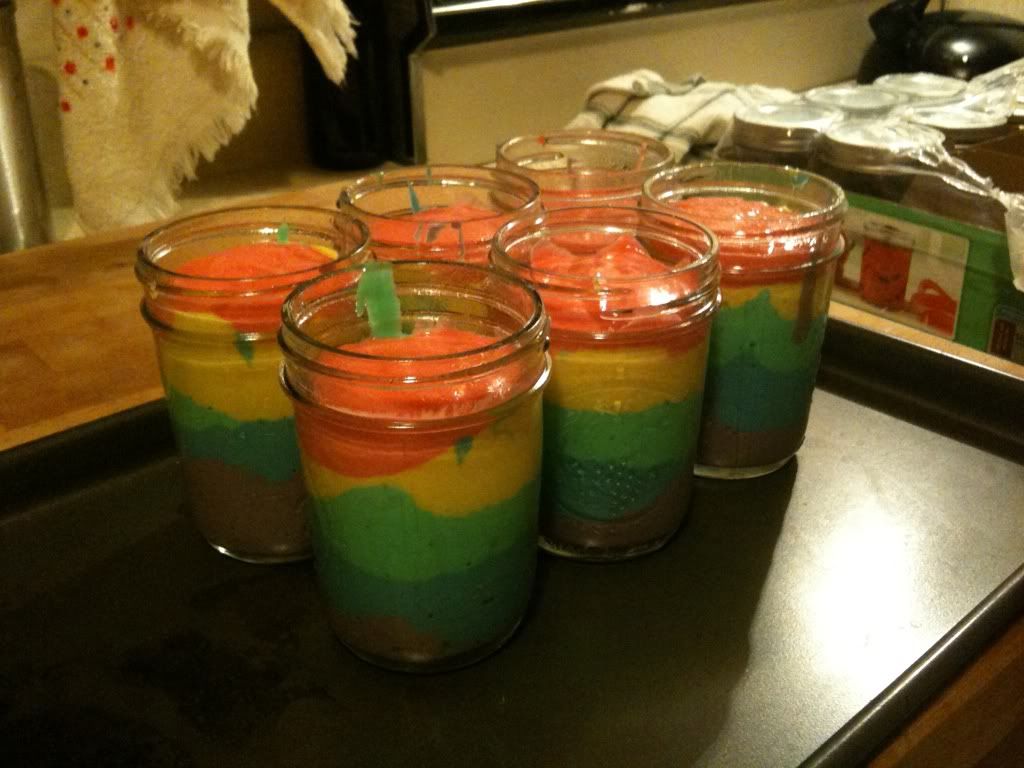
I popped these babies in the oven and took a peek a little while after to see if they needed to be turned (our oven bakes SUPER unevenly.) And I saw this:


You many think "Oh, lovely, puffy rainbow cakes!"

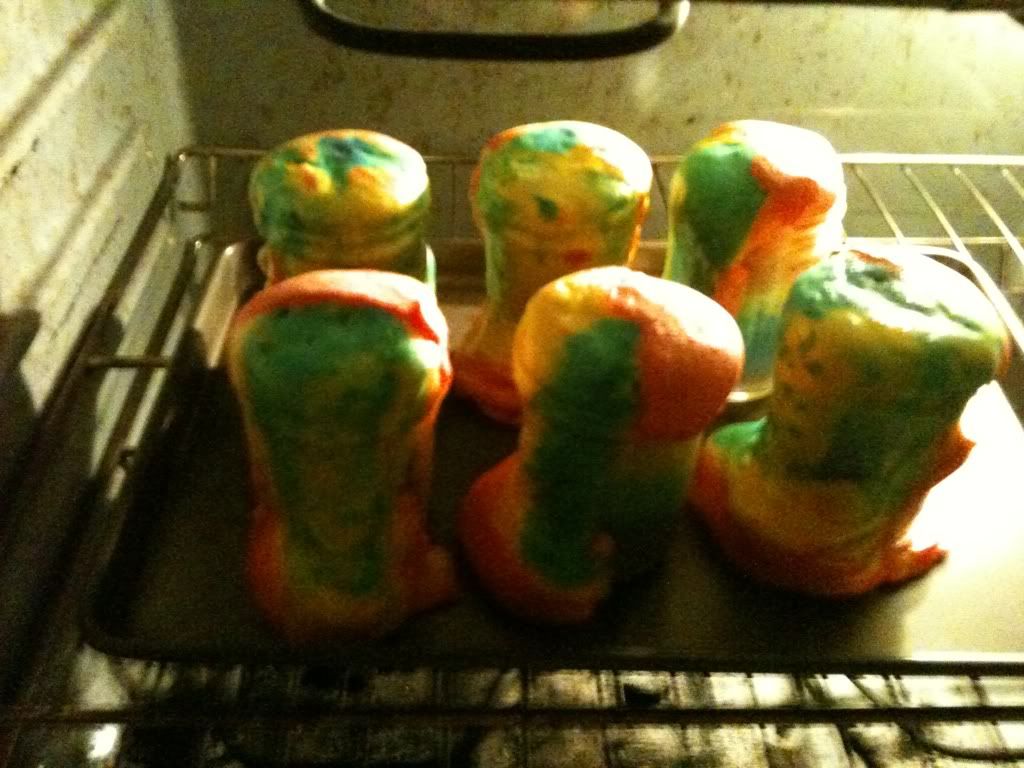
But at this point I was thinking "OH HOLY CRAP I FORGOT THAT CAKE RISES." You know how when you make cupcakes, you only fill them 1/2- 3/4 full? Well, the same rule holds for cakes made in jars...


Cake failure, in all the colors of the rainbow.

Now, I'm not going to lie, as much as I was disappointed in my cake failure, I was really looking forward to EATING ALL THOSE CAKE SCRAPS. After a bit of surgery (scraping the sides, and scooping out a little off the top), they were ready for icing!

Lesson:

Fill 1/2 full. Yes, you may want to see all the colors before they're baked, and you may think the purple layer isn't thick enough now, but just wait. Really.

I look forward to RAINBOW CAKES EPISODE 2, coming soon to a kitchen near you. Tonight however, is homemade chocolate cupcakes with strawberry frosting, for a double-birthday!!

Wednesday, August 3, 2011

Yummers!!!! Summer in a Jar!


I am posting later than usual today because I have been a very busy bee today. This year my garden produced a ton of watermelons, as I said in a previous post. I had so many that at the end of July I had 6 sitting on my kitchen counter and no idea what to do with them. Then I had a thought, what about making them into jelly! Off to the interweb I went to try and see if anyone else had this same slightly insane idea. Turns out several people have. The recipe I found was on http://www.foodinjars.com/, it is an amazing canning blog with tons and tons of really great recipes. When I juiced the watermelons Monday I ended up with 24 cups of watermelon juice. I quadrupled the original recipe which only called for 6 cups of the juice. Fast forward to today I went to the blog that I found the recipe on and it was gone, poof... Oh crap, so as quickly as I could I went searching for the same recipe somewhere else, and found it. http://www.whataboutwatermelon.com/index.php/2011/06/recipe-watermelon-jelly/ This website is nuts, its all about watermelons. I have taken tastes of it throughout today and I must say it is amazing! It tastes like summer in a jar! So for your enjoyment here are the pictures of Watermelon Jelly making, taken by my lovely and wonderful assistant Michelle!


In other news! I am now the proud leader of Daisy Girl Scout troop 30228!!! I am so excited! My momma is hopefully going to be my co-leader, so lots of fun to be seen from that!!! Also, today after I got done with my canning Michelle and I went through my clothes... I am a bit guilty of clothes hoarding, as in I never go through the stuff and get rid of things that I will never fit into again... Happily I am now down to 4 drawers, 3 small stacks of pants and shorts, and 1 small space in the closet for my hanging clothes. My reason for doing it now is so that I can get rid of one dresser in our room. With this extra free space we are finally going to bring in my big sewing machine, and make a crafting area for me! Yay!!! Seeya Sunday readers!!!

Monday, August 1, 2011

Books and Stuff

Hello everyone! Look at me, all posting on time. Today, I thought I would concentrate on more crafty-type things, since Patricia has the garden covered pretty well.

One thing to know about me is that I work in an academic library, which means several things:

1. I use interlibrary loan like it's my job. Mostly for craft and agriculture books. Pretty sure they're sick of seeing requests from me.

2. I spend a lot of my time at the front desk, waiting for people to need me, which means I have a bit of down time. Luckily for my ADD, they let me craft while I sit (usually, it takes less of my attention than reading or facebook.) I knit a lot, but any of my projects have to be small enough to tote around, and can't have a lot of "stuff" that they need.

Which led me to this book:


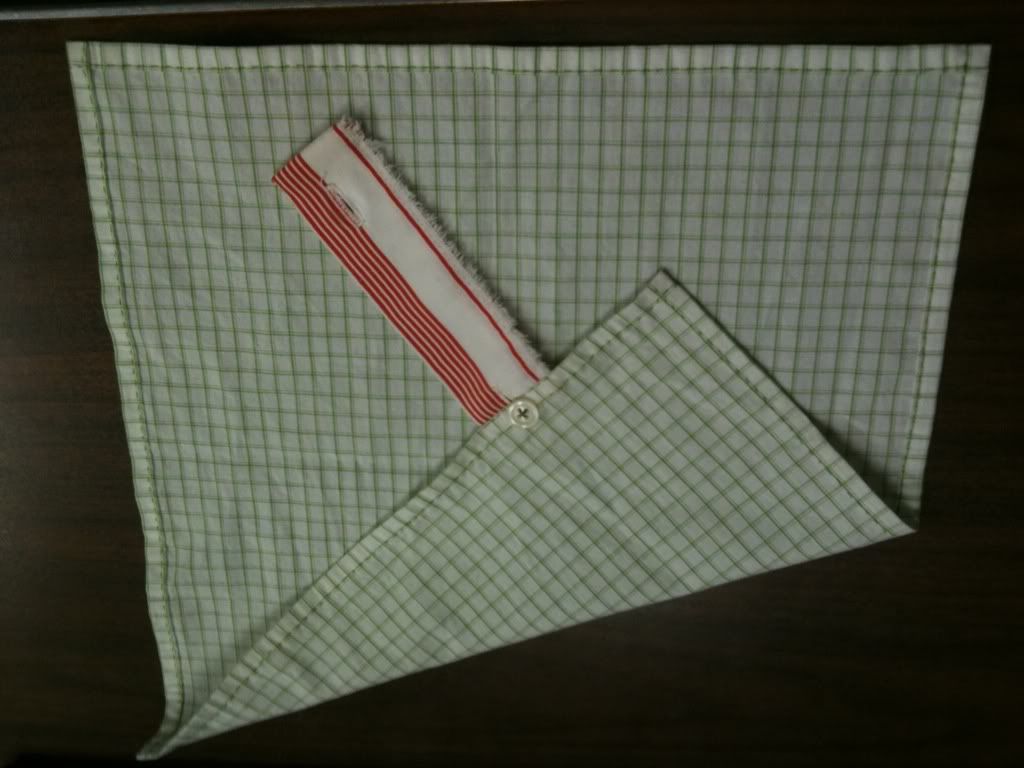
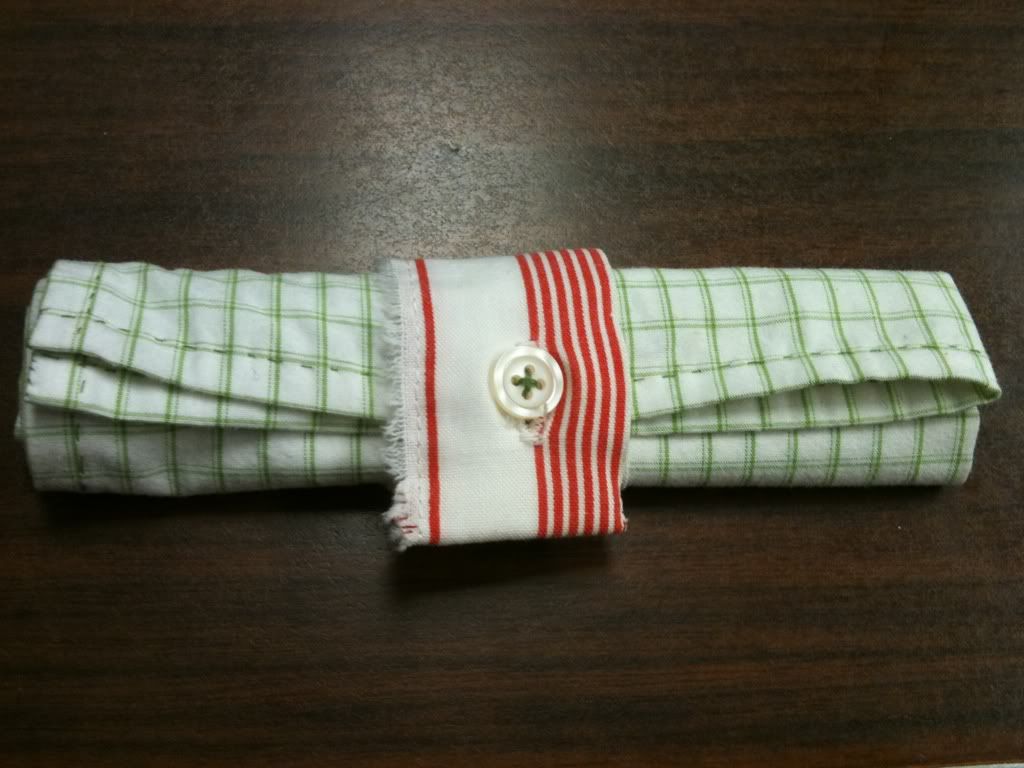
Not only is the cover rather lovely, but it's filled with fun projects that only require needle and thread, and a bit of patience. The project I chose is making dinner napkins from old men's shirts. A trip to the Goodwill fulfilled all of my fabric needs, and last night I measured and ripped everything out. Best part? Checks make for easy hemming! I also decided that rather than making a bunch of napkins from each shirt, I would make 2 from the sleeves and also a kitchen towel from the back (although this had to be fudged a bit when I realized that I bought ONE short-sleeved shirt! GAH!) Today, our software at work is being updated (all week actually) so I've been happily sewing away!

And so, I give you "The Men's Shirt Linens"


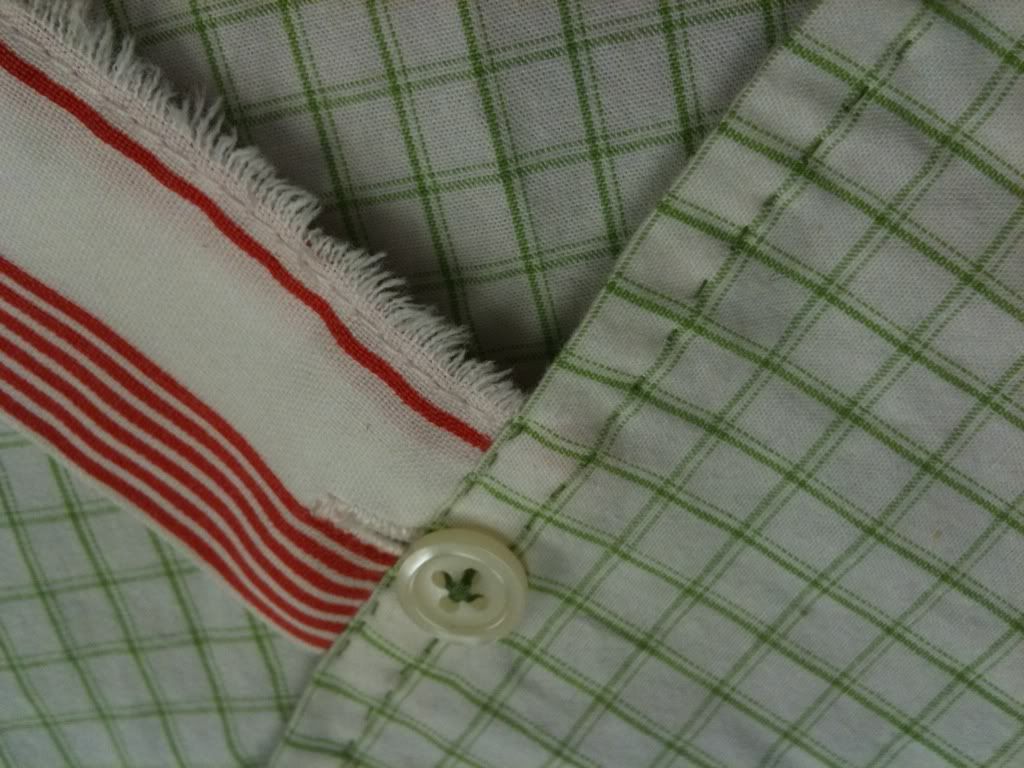
The button hole placket is seriously handy.


It makes its own napkin ring.


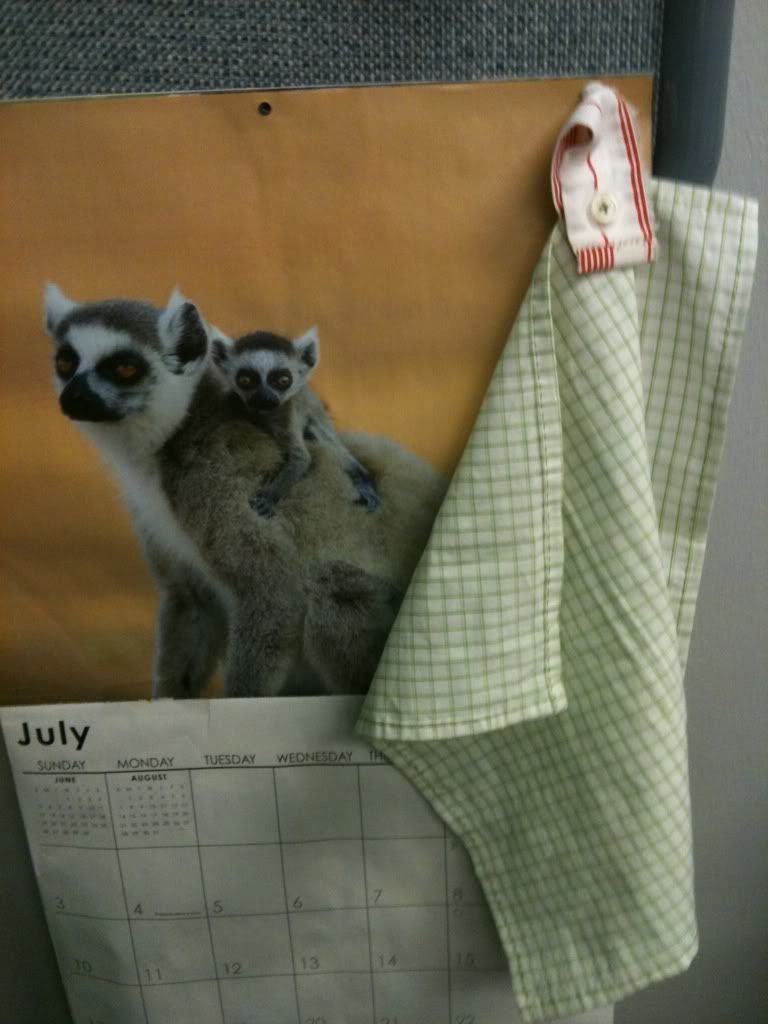
Also, a hook for hanging! (Yes, ,my calendar is still on July. That's pretty good for me. Also, I just love lemurs!)


Look a all that mad-crazy hand stitching!

Best of all?


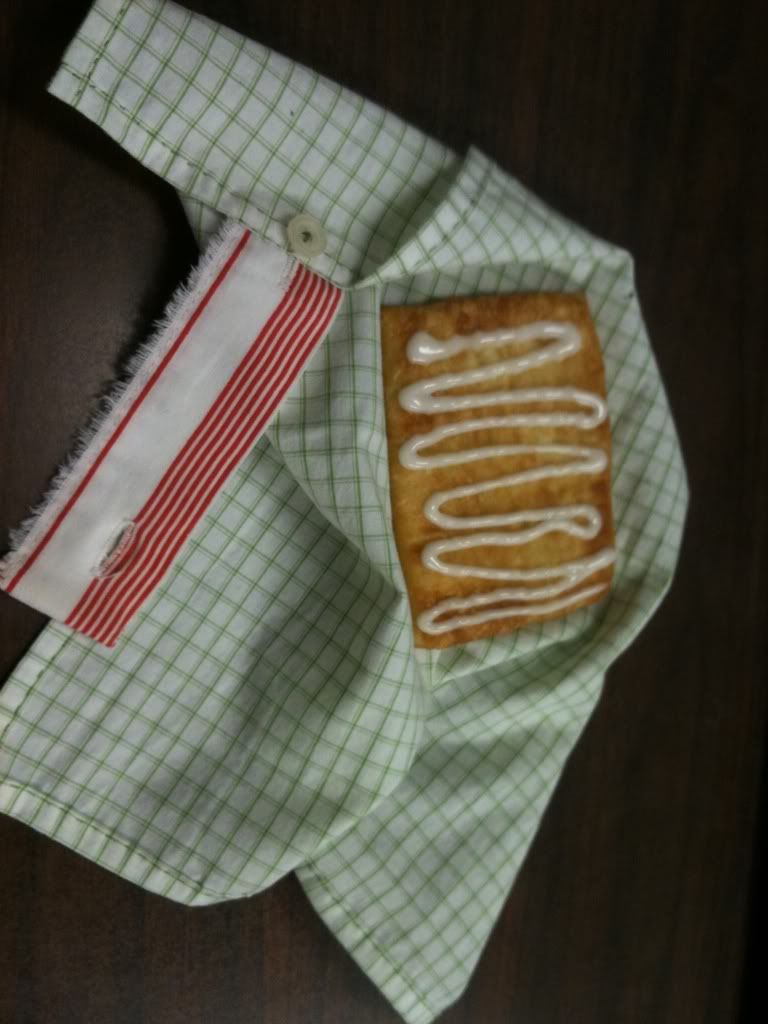
It holds my toaster strudel perfectly :-)

In non-crafty news, I made a lasagna last night with my own tomatoes, zucchini, and garlic, and it was MAGNIFICO. Really tasty. I was quite proud, especially since I didn't really look up a recipe, just winged it!

I also put in a soaker hose this morning, since we've been getting almost no rain and 95 degree weather. Hopefully that will help out. I have bunches of tomatoes and beans ready now, cucumbers are still going, some baby peppers, and hopefully the pumpkins will make it through! I broke my cute little round one off on accident while trying to turn it, but I still have 2 big oblong ones, and I'm sure a bunch of others that I just can't see! Exciting stuff!