Showing posts with label shoes. Show all posts

Sunday, November 20, 2011

Shoes, Shoes, Shoes

No doubt about it, I am a total girl when it comes to shoes. I love shoes. I hoard shoes. I was rightfully born on the same day as Imelda Marcos. I wouldn't go so far as to say shoes are my life, but I do get great satisfaction from the purchasing and wearing of a plethora of shoes.


I get shoes from many, many places. Some are gifted to me, some I purchase (a rarity), and some I thrift. In fact, some of my favorite shoes are from the thrift store. Including this pair:
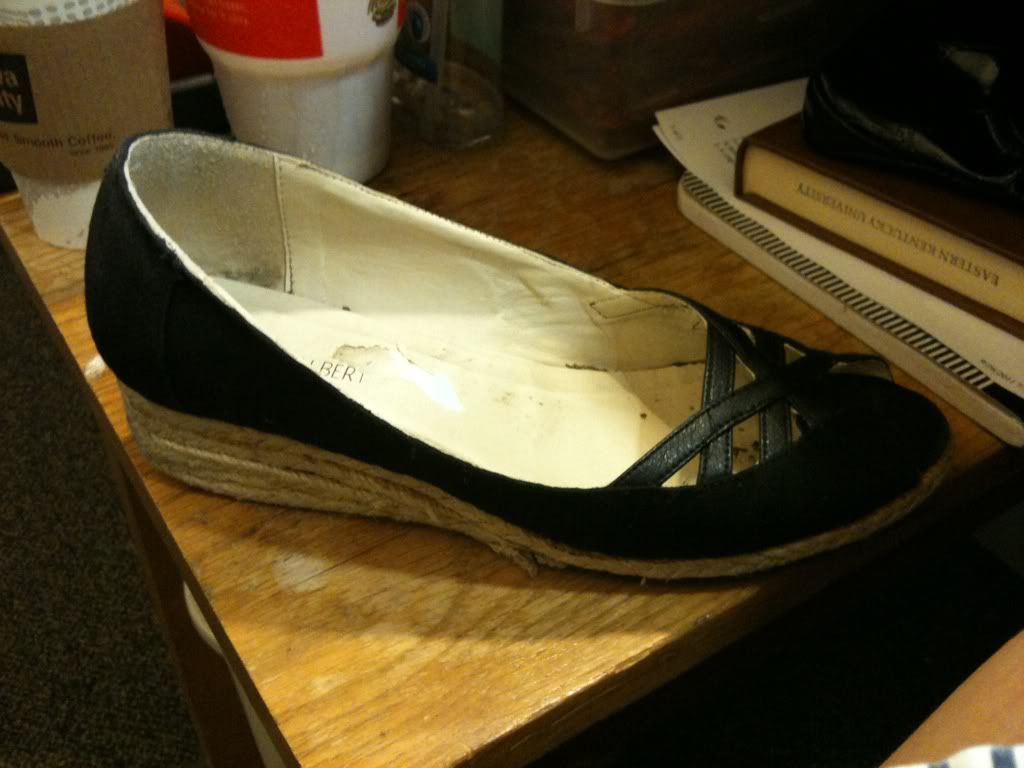
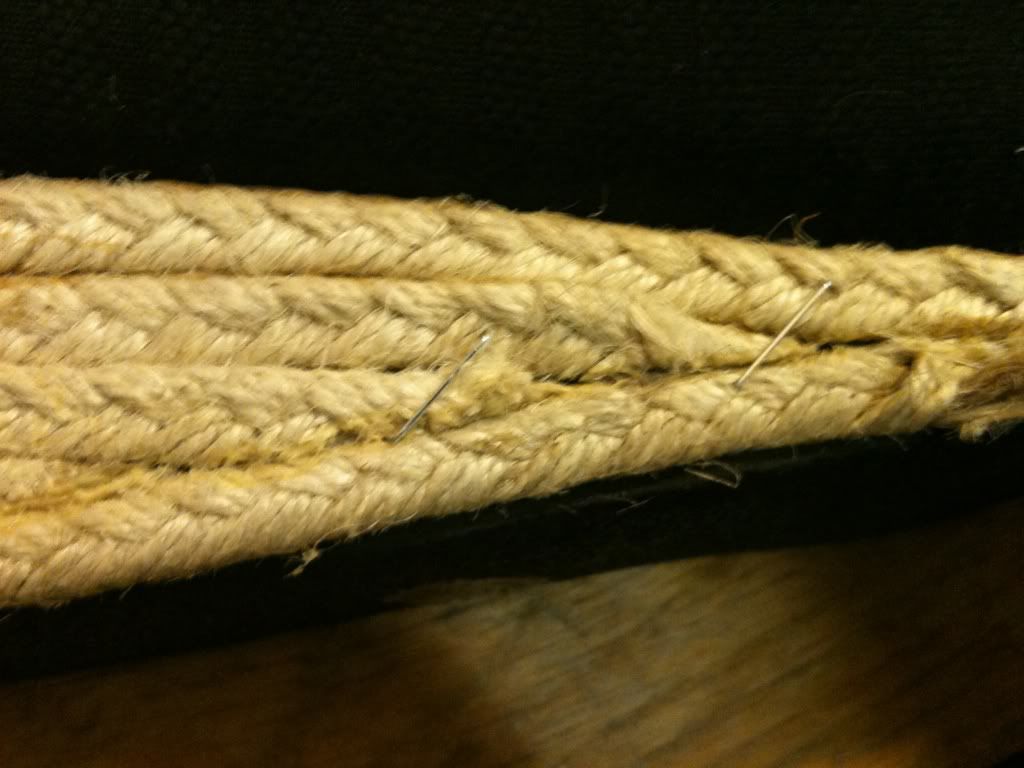
This was a lovely pair of Dollhouse cherry red flats that I found in a Goodwill in Ohio. They're glorious. They're comfortable, cute, and who doesn't want a bright red pair of shoes? Well, I love these so much, they are definitely looking rough around the edges. Not only have I completely worn the lining out, but I almost cried when I saw this happen:
Oh noes! Total blowout. Not going to lie, I've been wearing them in this condition for... a while now. Finally, I decided I'd looked enough like a hobo, and either I would have to fix them or get rid of them (NOOOOOOO!) So, taking what I'd learned with making glitter flats for my niece, I decided that glitter would cover a multitude of sins. And so the process began! There are only a few short steps to this process, but I have to say the results are fantastic!

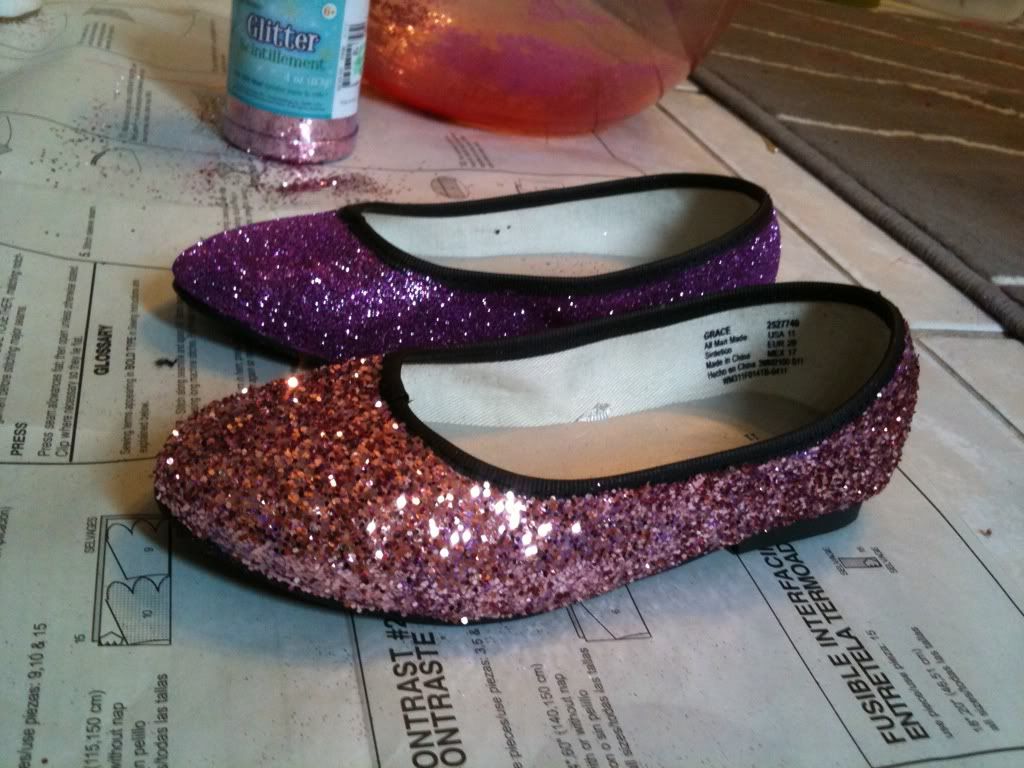
First, you locate your sad pair of shoes. Check! Then, you gather supplies.


(Not shown: Clear spray paint)

I used matte Mod Podge, Tacky Glue, and a really fine glitter. You can use whatever glitter you want really. I just wanted these a little more subtle, and less Dorothy. 

Step Two: Glue!

Working in sections, cover your shoe in tacky glue. Make sure it's not too thick or it will slump (trust me.)

Step Three: GLITTER!
Whoa baby! I did this over a bowl so that I could just dump the excess back in. Except the lid of my jar didn't come off. But still. Bowl is a good idea. After you've worked your way around the entire shoe, let it dry thoroughly. I watched a movie. 

Step Four: Glitter lock down. 
At this point, you could probably stop. However, I do not want glitter shedding everywhere whenever I walk (as magical as that sounds.) I also wanted them a little less sparkly and a little more mature looking. I decided, based on my experiences with the niece's shoes, to give them a good clear coat of spray paint. This held down the glitter, and also made it a little less obnoxious. And now, the final result!

TADA! One shimmery red pair of shoes!

With no insides peeking out!

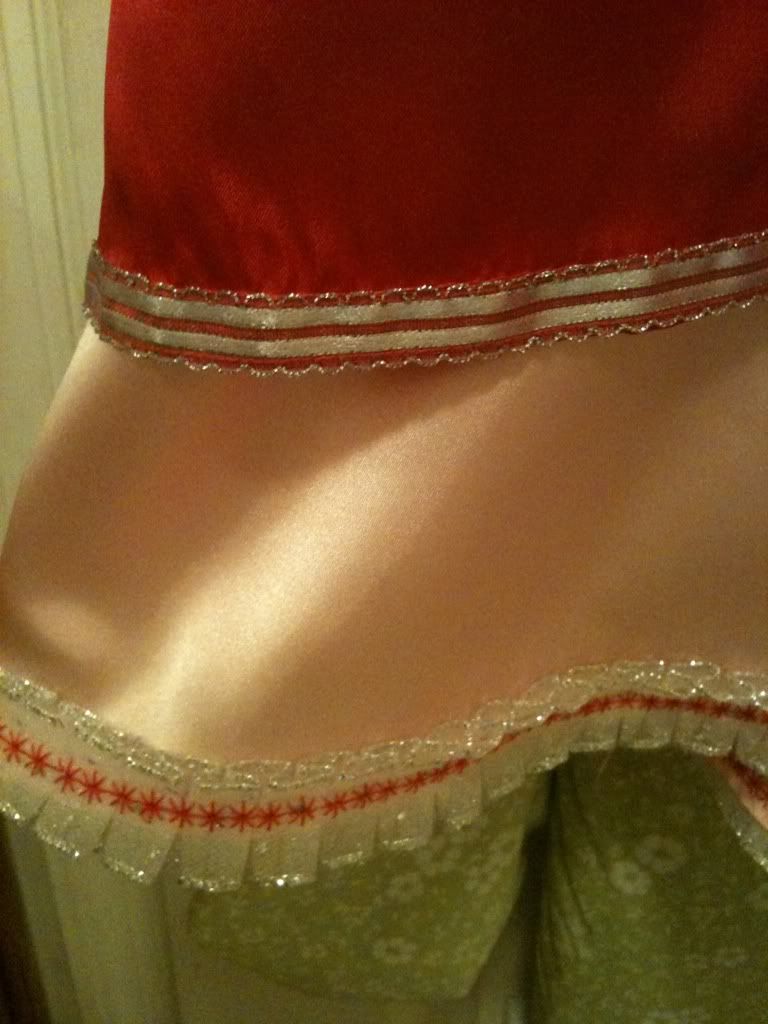
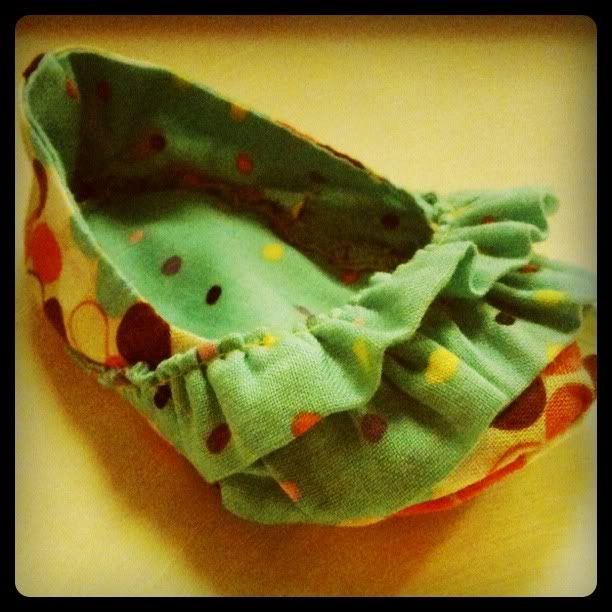
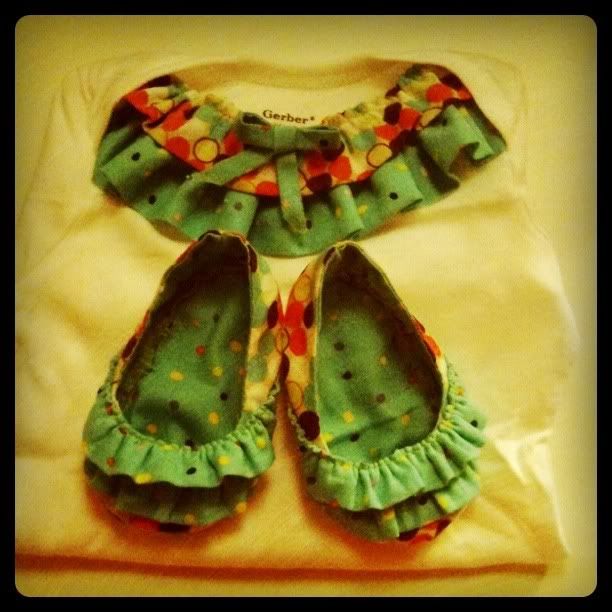
I have to say I was very pleased with the way these came out. I also went on a rampage and made new linings, as you can see! Those were super-simple to do. I used the sole of another pair of shoes (which I also recovered) and traced around it on a piece of doubled-over fabric. 

That's really all there is to it. I used pinking shears so I would get a pretty fray-free edge, and it also looks cute. Not a huge deal if you don't have them, as you just slap down a layer of glue, let it dry, and then put Mod Podge over top to seal it in. I ended up doing two more pairs like that, a beige pair (which is where my pattern came from, and a black pair. I think they ended up looking great. 


So, if you have a pair of shoes that you love, and they seem to be giving up the ghost, don't let them go until they're REALLY worn out ;-) Remember: Use it up, wear it out, make do, or do without! I usually chose the make do, and make it FABULOUS!

Looking forward to a great week!
~Sarah


Thursday, October 20, 2011

Pretty, Pretty Princess


Anyone remember that game? All I remember about it was that the point was to put on all the jewelry, right?

Anyway! For Halloween this year, I've been working on a princess dress for my niece, who is 5. There is nothing more fun than ruffles, and ribbon, and poof, and glitter. I guess except when it's all over the floor (sorry roomie!)

I finally finished everything today and, if the shoes get done tonight and are dry, it'll go in the mail tomorrow! I'm excited, and I really hope she likes it. And it fits. That would be tragic. I did make it a little big so that she could grow in to it, so I guess that is a concern.

Without further ado, I give you... THE PRINCESS DRESS.

The Whole Shebang. It's hot pink, not red, I swear.

Bodice detail. I love the ruffled velvet ribbon.


The whole top. I love the sweetheart neckline.

Lots. Of. Ruffles. 
Hem detail. Finally using some of my fancy schmancy stitches!

The back. Sad they didn't have the right colored zipper. Tiny little train. 


I also made matching shoes, because a girl can never have too many! And WHAT IF THEY DIDN'T MATCH!? My first attempt was with scrapbooking microfine glitter. It was neat stuff, but the wrong color (too purple.) So, this morning, an emergency Hobby Lobby trip was in order! You can see the second attempt is much better, and much SHINIER!
We like shiny.

I bought some foofy silver trim to put around the black edges, but they were freshly glittered in this picture. The whole process went as follows: mod podge, glitter, repeat, clear coat with spray paint. I might repeat it when I get home. That's it, and you have some FABULOUS shoes ;-)

**Update! Almost forgot, I made a matching necklace and bracelet set that's just like my mom's that I've loved forever!

I also made some of those fabulous pens that Patricia recently posted about! I grabbed some pens and flowers from the dollar store and used some floral tape I had sitting around. For my "fall" pens, I stuck them in a mason jar full of kidney beans. Total cost for all the supplies: $4.

"Fall"

"Winter". I'll put these in epsoms salts when they go out on the desk :-)
 In non-frilly news, here's a picture of the new tank without the blue lights on, so you can see a little bit more what's going on!
And all four fish!

Hope you all have a good weekend, and stay warm! It's frigid here!
~Sarah


Monday, September 26, 2011

Make Do

"Use it up, wear it out, make do, or do without."

Words of wisdom, no doubt, but ones that are hard to adhere to strictly in a consumer-driven society. I am certainly not the best example of this adage, but I do try to do my best whenever I can.

Tonight was a pretty good example of how I both embody and flout this notion, simultaneously. It all starts with a confession: I have a shoe problem. A pretty bad one. And sure, I'm a girl, and that's to be expected. But I still feel terrible about my 60+ pair shoe collection (granted, a lot of them are second hand.) I've been trying to keep myself from buying more, and trying to wear them all or get rid of them.

While feeding my caffeine addiction in the coffee shop at work, I noticed that the rope on one of my favorite pair of wedges was completely falling off.


And aren't they adorable?

"Wear it out."

Unfortunately, let me reiterate that they're one of my favorite pairs. And I usually don't do anything but flats.

So... "Make do."


That's right. I stapled my shoe together.

Certainly, this is not a permanent fix. But it will certainly keep me from walking around with half my shoe flopping off.

I refuse to "do without."

So why is this such a big deal to me?

I guess it's that I hate seeing people take a perfectly good item and literally throw it away (not donate, not give to a friend, not find a new use for) simply because it has a cosmetic flaw or something so simple as a missing button. Did your dryer put a pinhole in your favorite sweater? Darn it! Put a patch on it! Embroider over it! For God's sake, don't just throw it out.


In related, but not really, news, I had leftover pumpkin pie filling last night, and so I made little pumpkin handpies.


Hand. Pies.

I just used store bought crust, so they aren't as delectable as they could be, but it was pretty good for 2 am ;-)

Last up: What's in my book bag today?


I work in a library, so usually there are a LOT of things in my book bag, but this is what I'm currently digesting.


I worked in Montessori schools for two years and really loved it, both as a job and as a teaching method. I've been missing it lately, so I'm brushing up with this oh-so-up-to-date volume ;-)

So what's your favorite ways to Use it up, wear it out, make do, or do without?

Hope everyone's having a good week!

~Sarah

Sunday, September 11, 2011

Hello Everyone! I'm not trying to step on Patricia's toes, but I'm late from Friday! I have a pretty good excuse though, I'm MOVING! Agh! One of my co-workers and I are going to live together as a trial run. She has a big 2 bedroom town house, so I'm moving in to her spare room. If I get my house, she might move in with me, or if we decide we like living together but need more space, we'll look for a bigger place. Exciting stuff. I moved my bed and animals this afternoon, minus one cat, who is hiding SOMEWHERE. No idea where.

My room looks so clean though. It will not look like this for very long...


Last night, instead of actually packing, I worked on my trash find bunny hutch. I pulled this dresser off of the side of the road (actually right in front of my new apartment) and I've been planning on making it into a 2 story bunny condo for Boo Boo. I gutted it, but hadn't done anything to it... I went crazy though, and now it's almost done!


Sorry for the night phone pictures, but, well, it was night. And I was on my phone.

So, the top floor is going to be for food and water, then there's the ramp down. On the bottom floor, I'm going to hide his litter box behind the ramp. I think I've decided to make the bottom totally enclosed with an access door to clean litter and let him out. The top has a flip up screen door for filling up food and water. The back is all chicken wire so he gets plenty of circulation. Everything is cut for the bottom enclosure, but I charged my drill all night without actually having it plugged in :-/ Oops.

In crafty news, I made a CUTE baby set for my friend's adorable baby. I used this
tutorial, which was super-easy.


Next time I think I'll try to make the lining separate so that there are no interior seams, but we'll see. With the leftovers (all of this was from 2 fat quarters), I made ruffles for the neckline of a onesie too.


Oh baby stuff. Love it.

I also made a ruffled shirt for myself, out of two $3 shirts from Meijer. It was just a practice, but next time I'll measure the layers better. I still like it though!

In fun news, I got a hilarious picture of my porcelain crab riding a conch. He's a trooper. Yeee Haw!!


Hope you guys had a good weekend!