Every year a wonderful time comes around when my Dad prunes the grape arbors, and I reap the benefits! I love working with grapevine, as a weaving material it is wonderful! This year I am going to make baskets as well as wreaths. Today though I wanted to share how to make a grapevine wreath with all of you! You can find grapevine all over, growing wild mostly. Most home owners see it as a weed, so ask if you can cut it from their yard, or if you know someone who grows grapes ask if you can have the cuttings after they prune! Here you go readers, have fun! Hopefully we will start hearing from Sarah soon, she is semi settled and has started her new job as a farmer girl!
Step one: Start with a decent sized vine that can be made into a circle longer than the size you want the wreath.
Step Two: Make a circle with the vine tucking the ends like you would start tying a knot.
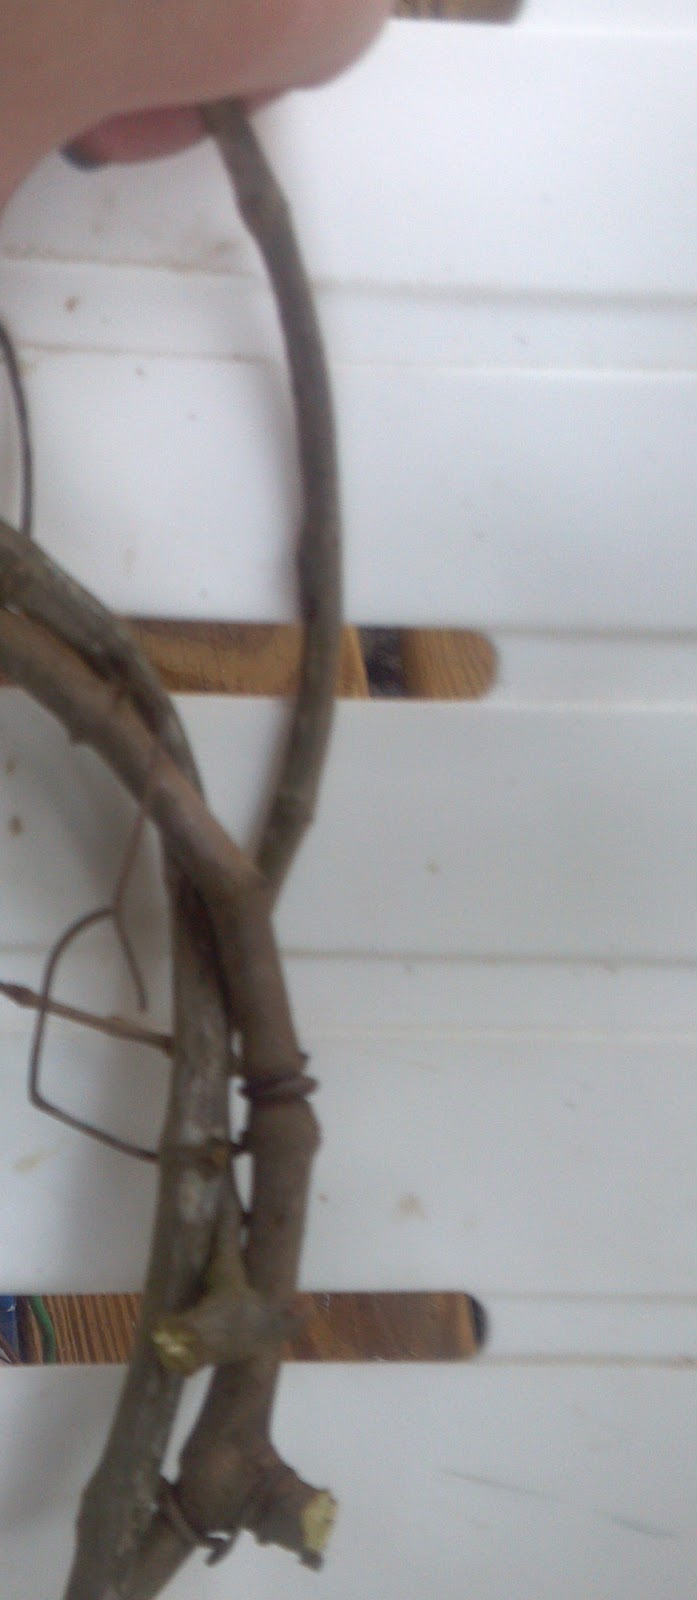
Step Three: Add another vine. Start it by tucking the thick end of the vine into an open area of the knotted first loop.
Step Four: Wrap the vine around and around the original loop taking care to hold down the ends so they do not slip out. Tuck the end into a open gap.
Step Five: Continue adding vines until your desired width is reached. You can go the same direction as you add each vine or you can go the opposite direction each time. I personally prefer to add each opposite, it seems to make them stronger. Tuck the last end securely, and you will have a wreath that will last years to come.


No comments:
Post a Comment