Saturday, October 29, 2011

What's this? ITS HALLOWEEN! (Almost)


If you all hadn't read before, let me take a moment to say I work for a university (in the library.) If there's one thing that universities (and university towns) take seriously, it's Halloween. And that fits me just fine. Halloween/ Day of the Dead are absolutely my favorite holidays, hands down. This year, because of moving, I have seriously slacked on the fall decorating. Most of my decorations went to my office, to be oo'ed and awe'd over by the students (everyone loves my huge glitter skulls. Who wouldn't!?) However, moving did not cure my costume fever, past or present.


The other night, some of the girls and I had a "drag out all of Sarah's costume crap and play dress-up" night. What fun! Two big rubbermaid tubs and a basket of stuff, and that still wasn't all of it! We took some silly videos, but here were a few of the highlights:
 The Jane Austen dresses never fail to please. They are also pretty much the most comfortable things ever.
Hilarity ensued when we found my "historically accurate socks" and single mock-up of a shoe, made out of none other than a vinyl tablecloth. I kid you not. We rolled.
Here is my niece in her costume, which is only a little bit long in the shoulders! Her cape magically matches, even though neither her mom or I had seen what the other was doing! Brilliant!

And now the big reveal! Since I work in the library, I needed a work-appropriate costume. First I had planned on being Ms. Frizzle from the Magic School Bus, but I couldn't find the right dress. Instead, I decided on Mary Poppins (I am practically perfect in EVERY way, after all!) I already had a skirt that would work, but needed a frilly white shirt, squashy hat, some old-lady heel, and a carpet bag. My friend and I went on the thrifting trip of a lifetime and scored big! She found everything she needed for her Carmen San Diego costume, and I found everything I needed, all in 2 stops! It was magical. The stars aligned.
 Unfortunately, I didn't get pics of the whole thing finished, but here's a taste!

The skirt, I already owned. The frilly shirt, shoes, and hat were Goodwill finds, and the jacket and bag were Salvation Army finds. I added trim to the jacket this week. The bowtie is just some ribbon hot glued to a safety pin.
 The hat what just a straw hat, spray painted black. I gussied it up with some berries and cheap flowers.
This is also the first Halloween costume that I've finished a WEEK before!
So what did all this cost me?
  • Skirt: Free
  • Shirt: $2.50
  • Jacket: $2
  • Trim: $1
  • Bag: $1.99
  • Shoes: $3
  • Hat: $1.50
  • Fake flowers: $2
  • Bowtie: Free
  • Tights (which I will wear): Free
Total:  $13.99

That makes me one
happy Mary Poppins :-)

In other news, I made a fabulous cauliflower crust pizza. Nom nom nom.


Wednesday, October 26, 2011

So much going on!!!! And Daisy Salve!!!

Hey there readers, happy hump day! This week has been a bit of a blur and will continue to be just that. On Monday my sister had my nephews Conner and Chase. They were born at 26 weeks, and are in the NICU in Jacksonville, they are doing well as of now but they have a long road ahead. If any of you readers are praying people please pray for them. My sister has started a blog to post how they are doing http://bourquetwins.blogspot.com/ Also today I went and got my last 6 months of Birth Control... Yes readers Husband and I are going to be having another child. This time we are planning for it though. So sometime next year you will get to hear about hippie pregnancy, lol. And finally today I made daisy salve! Here is the blog I got the recipe from again if you are interested in doing it yourself! http://www.crunchybetty.com/vintage-remedies-%E2%80%93-make-daisy-salve-for-bumps-bruises

Here are some pictures of both the daisy salve making process and my nephews. Seeya Sunday!


Monday, October 24, 2011

There's No Place Like Home

Randomly, I woke up this morning at 8 am. Sounds like a normal day, right? Sure, except I go to bed at 3am. Say whaaaaaaaat? I am a night owl. I don't wake up early. But when I woke up this morning, before the sun was even fully out, all I could think about was buying a Dremel and cleaning my room. No joke. I sat there in bed for at least a half an hour debating the merits of buying a Dremel, or buying groceries. The Dremel won, for the record, but luckily I have a friend who has one and might let me borrow hers to decide if I want one! Anyway. After I was totally amped up, I decided to just give up and fiddle around the house until I was tired enough to nap. I never napped. I had such a great day of cleaning and getting projects done that I didn't have time! I didn't even have time to make dinner!

First things first, I decided to make breakfast:
Bacon, egg, and cheese biscuits


These are really delicious. They look nothing like the recipe picture (which are neat little pucks of breakfast goodness with clearly defined strata), but they definitely fill you up. The only thing I would do differently than the recipe is to cook the biscuits for a few minutes before adding the egg. They rose so much they went right through the egg and there's nothing on the bottom (although they are still tasty!)

I also made these Pumpkin Chocolate Chip Brownies. They are divine. I'm making a huge batch to bring to work on Halloween for all my poor little dears stuck at work and not out... I dunno.... trick or treating. Or whatever it is that kids do these days. It says to put them in an 11X7, but for a single batch I think I would just do a 9X9 and see if they came out a bit thicker. No pictures because I literally made these instead of getting ready for work, and ran out the door with steaming hot brownies in my paws.

I did a bunch of other stuff, but the bulk of my day was spent trying to to get my room in some semblance of order. I stayed up til 3 last night because I spent an hour and a half folding and putting away clothes, I kid you not. With everything put away (other than a small pile of hanging stuff that is hiding in my closet...), I had a LOT more room to work with and could start really putting things away.

Downsizing from having my stuff spread over pretty much an entire acre to a townhouse is a bit shocking. I've always known I have a lot of stuff, but it's amazing to see it all shoved in a small area. It's also amazing to see how little of it I actually use! I'm trying to be judicious as I unpack and put things away (the Roomie witnessed me recycling an iced tea bottle instead of saving it. I swear!) but also not get rid of things and then have to re-buy them (or worse, regret getting rid of them and NOT being able to replace them.)

So here's a quick run-through of what I've been up to! I also have no shame in showing the piles of stuff still left to do. You'll be able to appreciate my progress as we go :-)

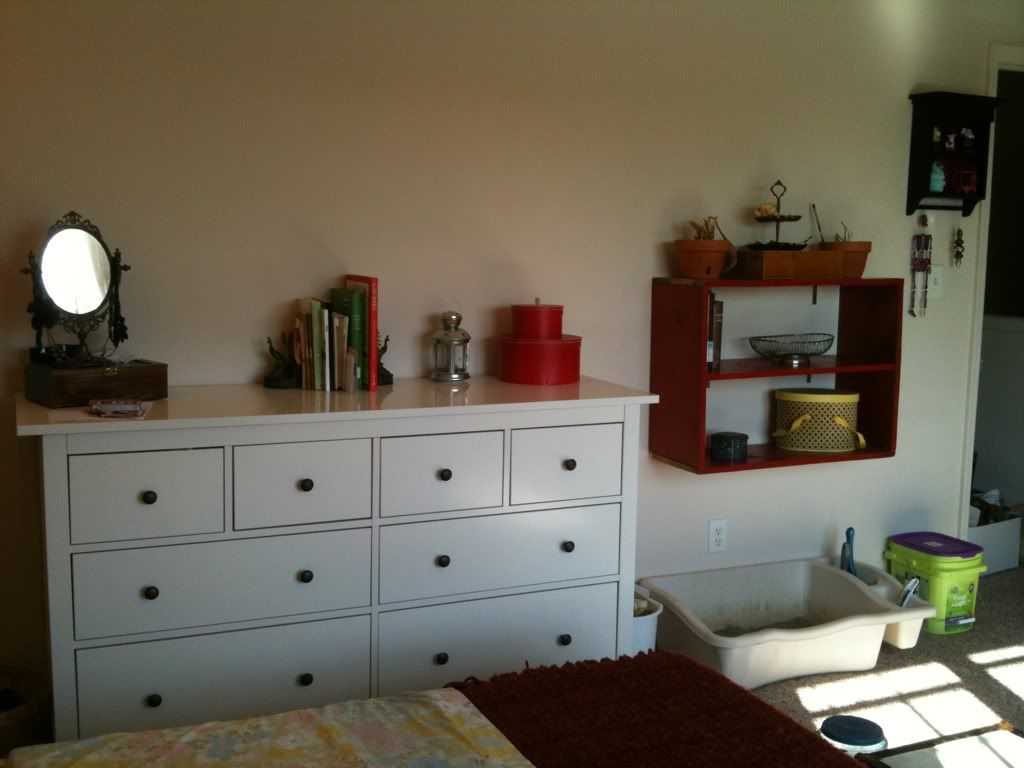
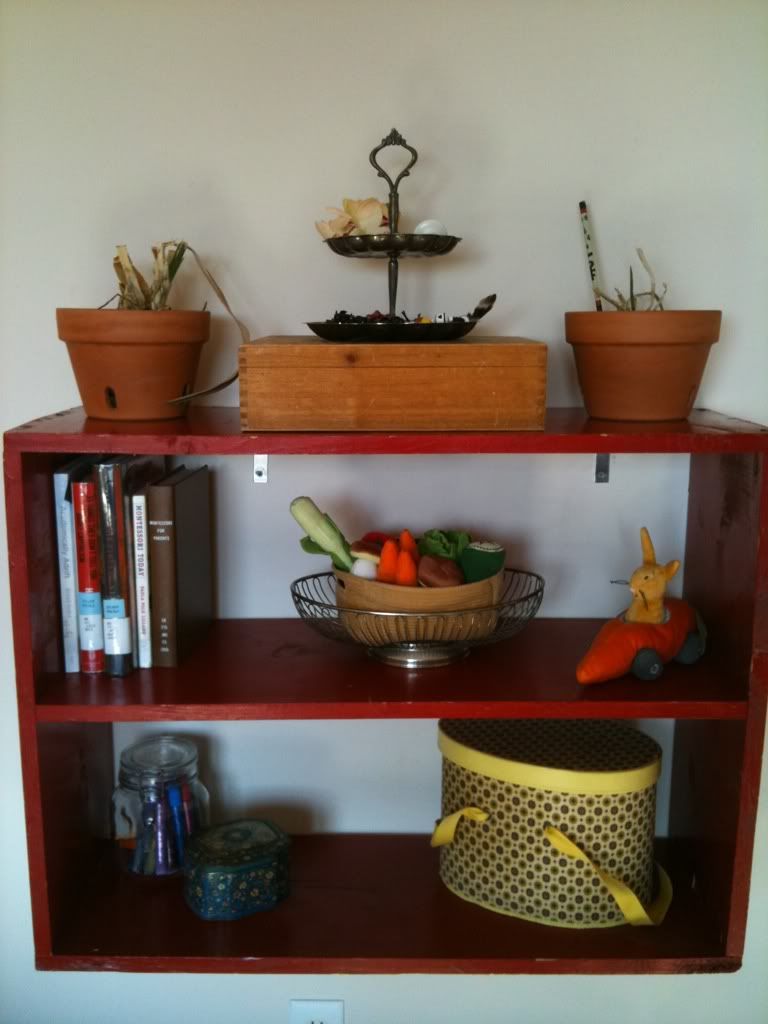
Dresser wall got the most attention of the day.The dresser got cleared of junk (a lot of it was re-located when I freed up space elsewhere.) Then there is the addition of my street-side rescue shelf (holla to Savannah for stopping in the middle of the parking lot for me. You are a true friend to indulge my furniture-rescuing compulsion.)  I just used 2 sets of L-brackets to attach it to a stud, easy peasy. The shelf itself is pretty rough, and obviously homemade, but it was free, and it holds stuff, so it works for me!
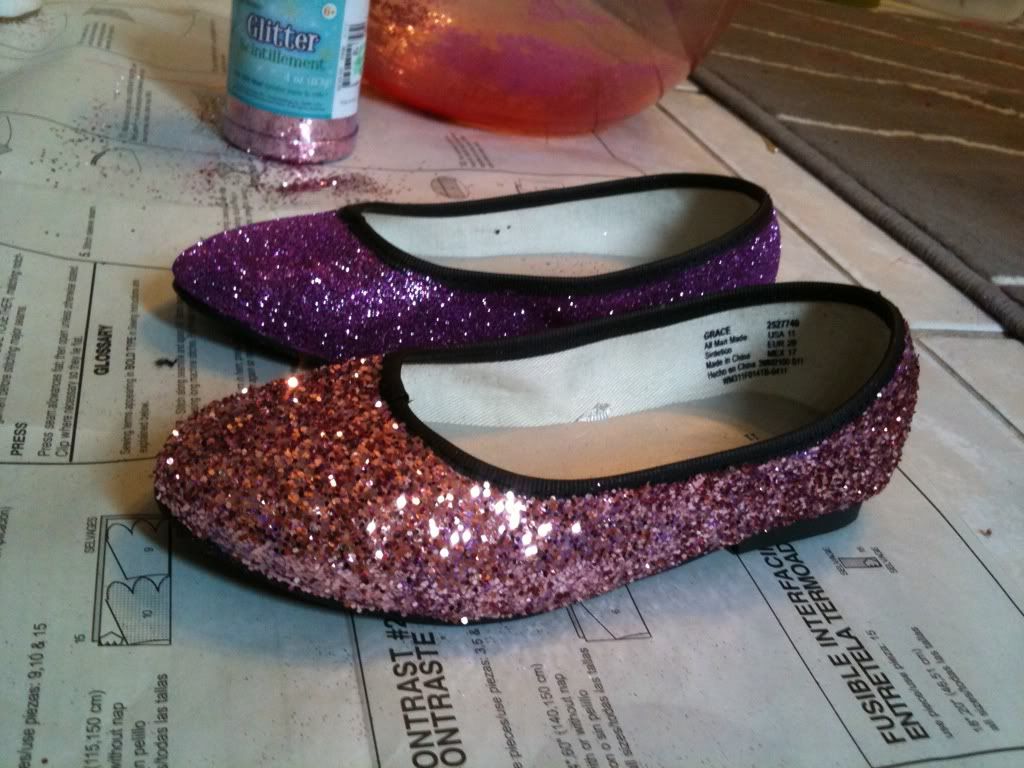
Here's a close-up of what's on the shelf right now. A lot of random stuff that I'm sure will be moved around. Right now it's my half-dead orchids, my jewelry tray, library books, kids toys, glitter glue, and glue sticks in a tin. The hatbox and winebox are both empty. I'm sure I'll remedy that.
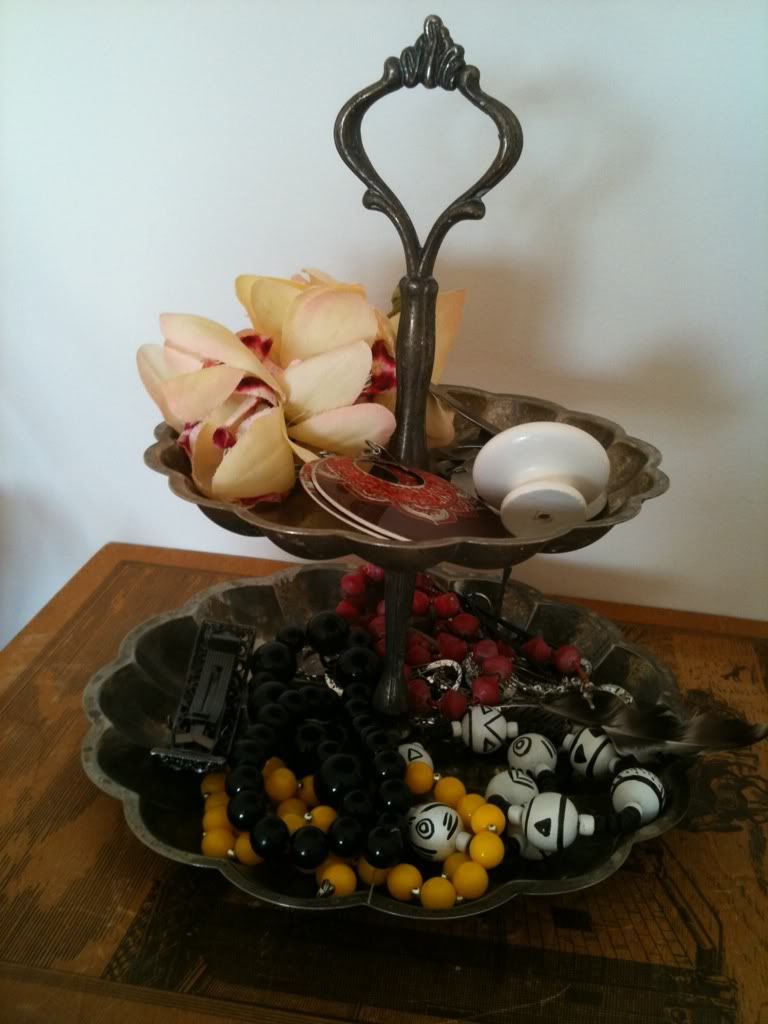
This cute little silver tray works perfectly for catching all kinds of jewelry as I take it off, without risking the cats knocking it around. Salvation Army find!

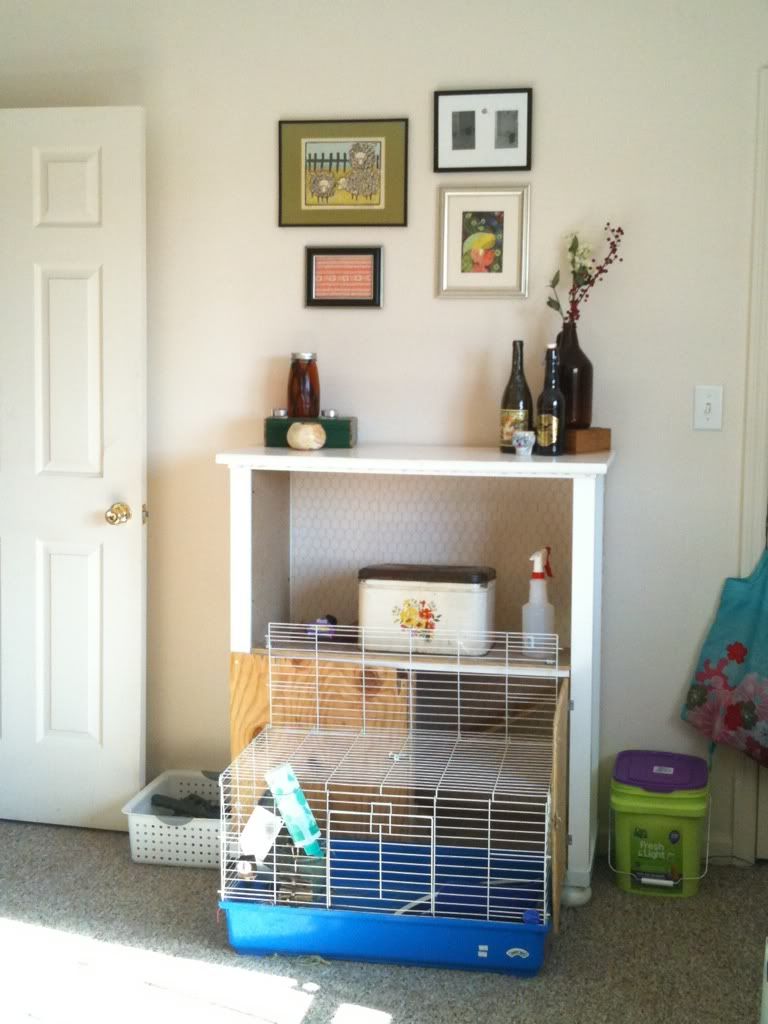
Moving clockwise is the bunny hutch! I gave up on trying to teach Boo to go up to the second level, so I just took out the ramp and now the upstairs is bunny supply storage (treats, towels, vinegar spray, etc.) The top got cleared off, my last few bottles from my bottle collection found a home, and pictures were finally hung! All of those are special. Top left is a sheep print from VA that reminds me of my 3 sheep babies, top right is a hand-printed picture Lindsay took of my old cat, Gato, bottom right is a peacock girl print from Lindsay, and bottom left is a smocking piece that my grandma made. My vanilla is also still there, steeping :-)
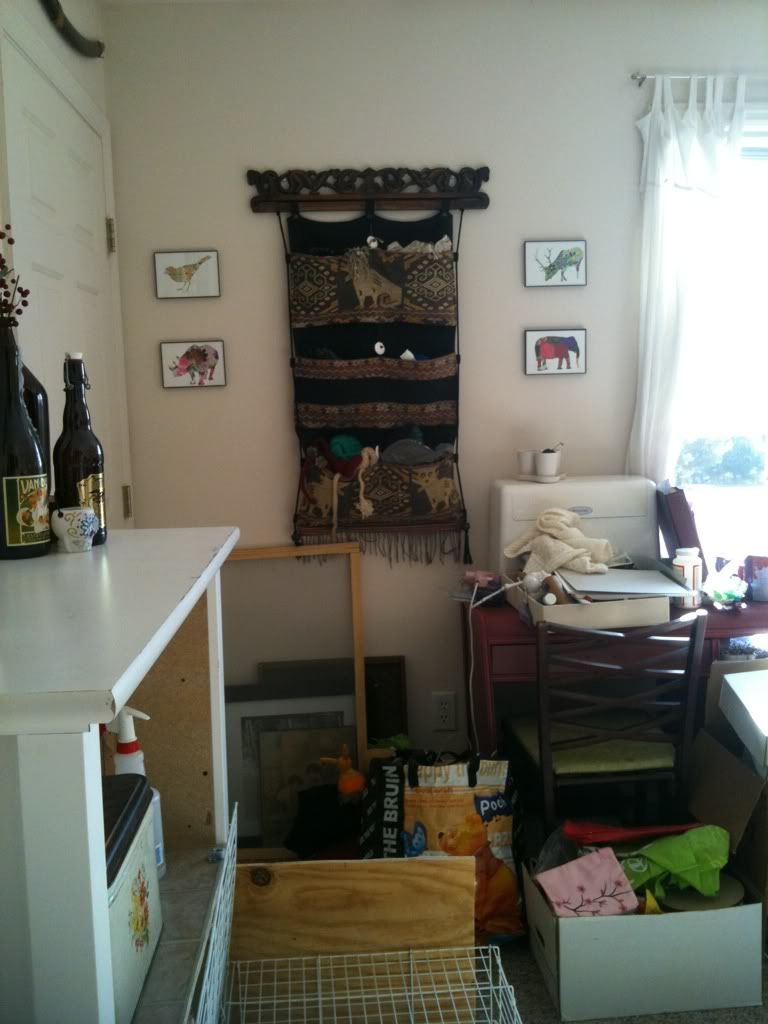
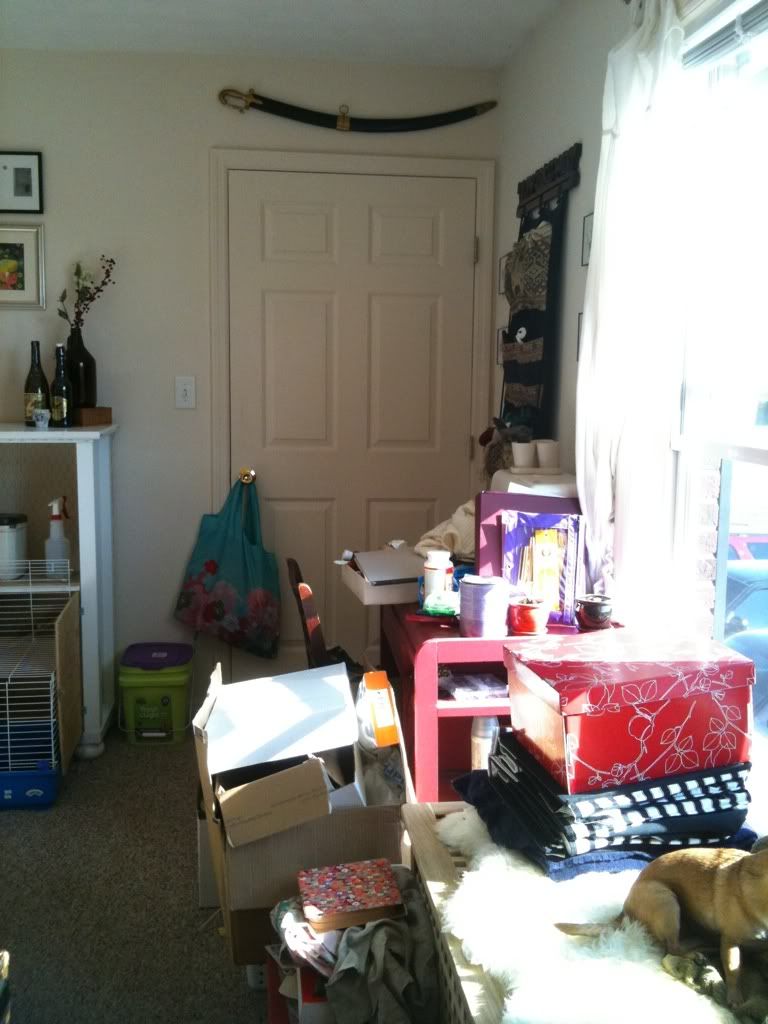
Here comes the messy part! Hats, gloves, and scarves are living in the big wall hanging. The prints are Ikea. The red desk finally made it inside and now will house the sewing machine and craft supplies. Right now it's just piled with flotsam.

Here's the long view of the crap side. The pile is getting smaller though! My Barbara Arnett dance sword has a proud place over the door :-)
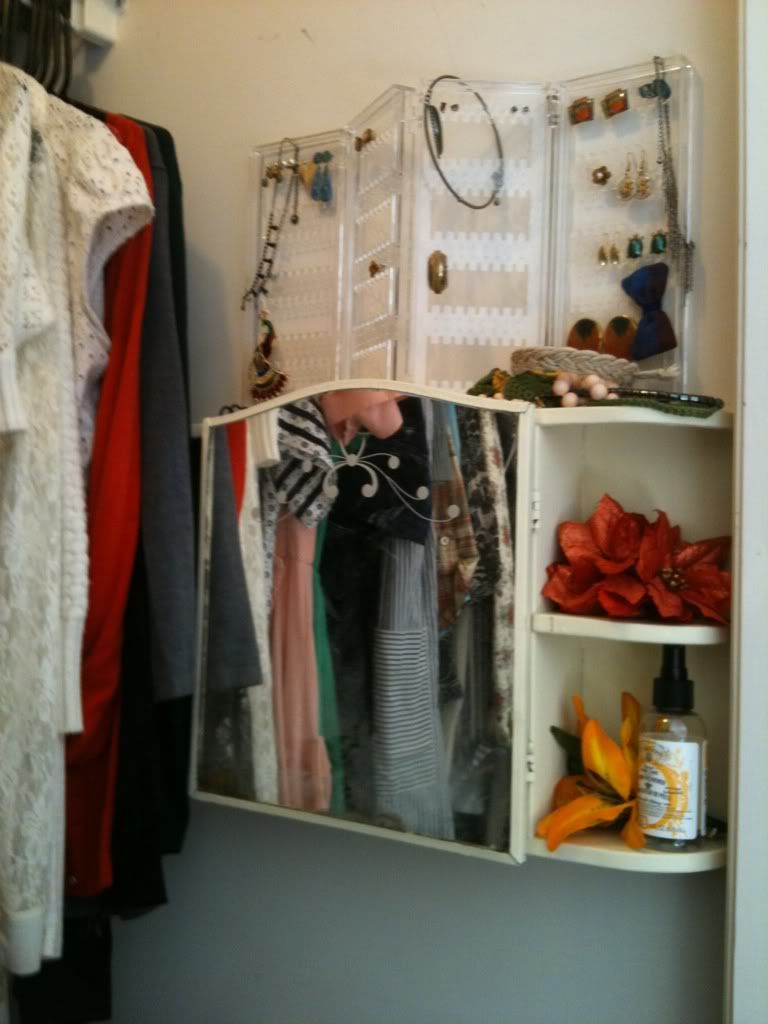
 Inside the closet we have my medicine chest and earrings.
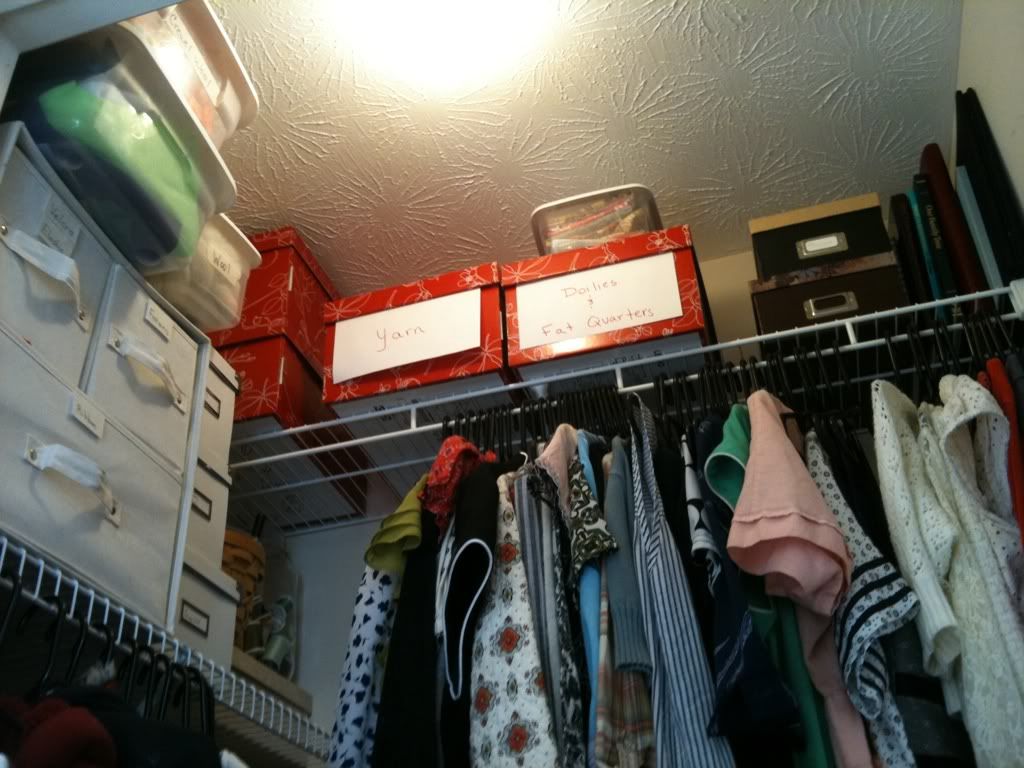
And a surprising amount of my craft crap fits in the top of the closet. No, that is not even close to all of my yarn.
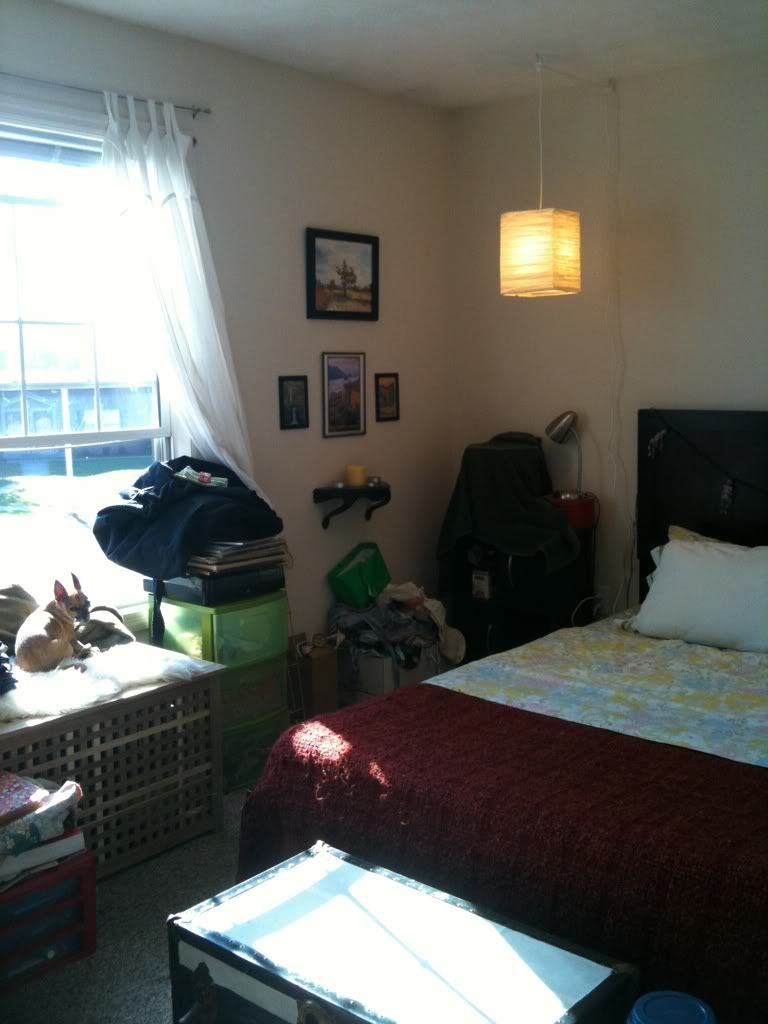
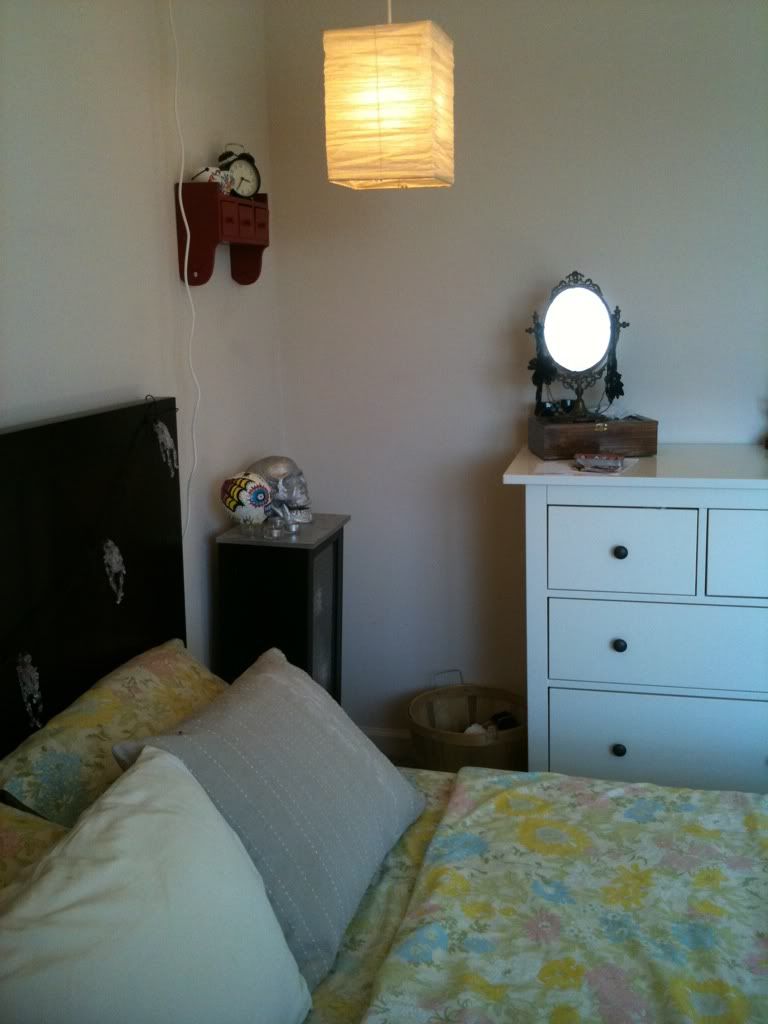
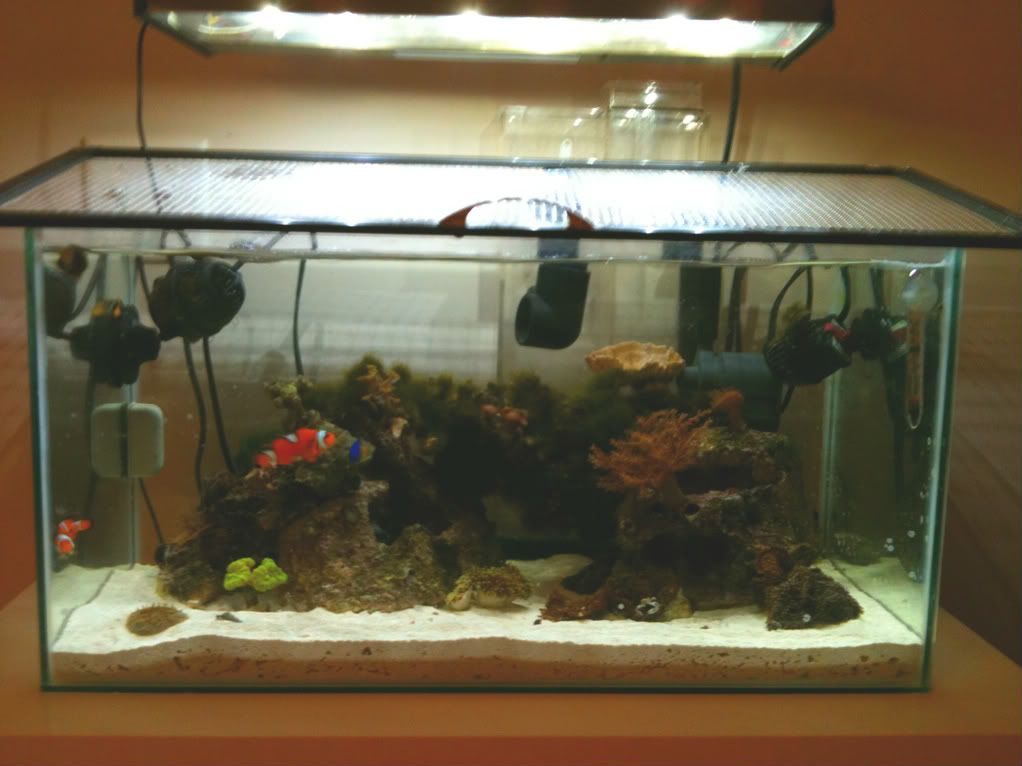
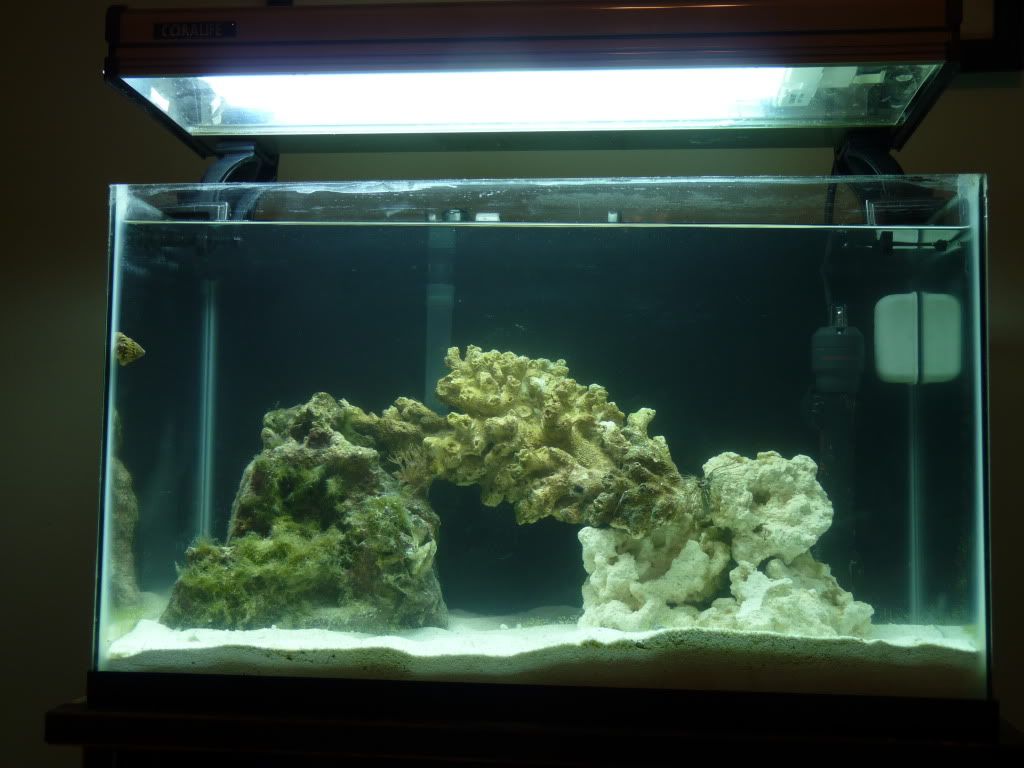
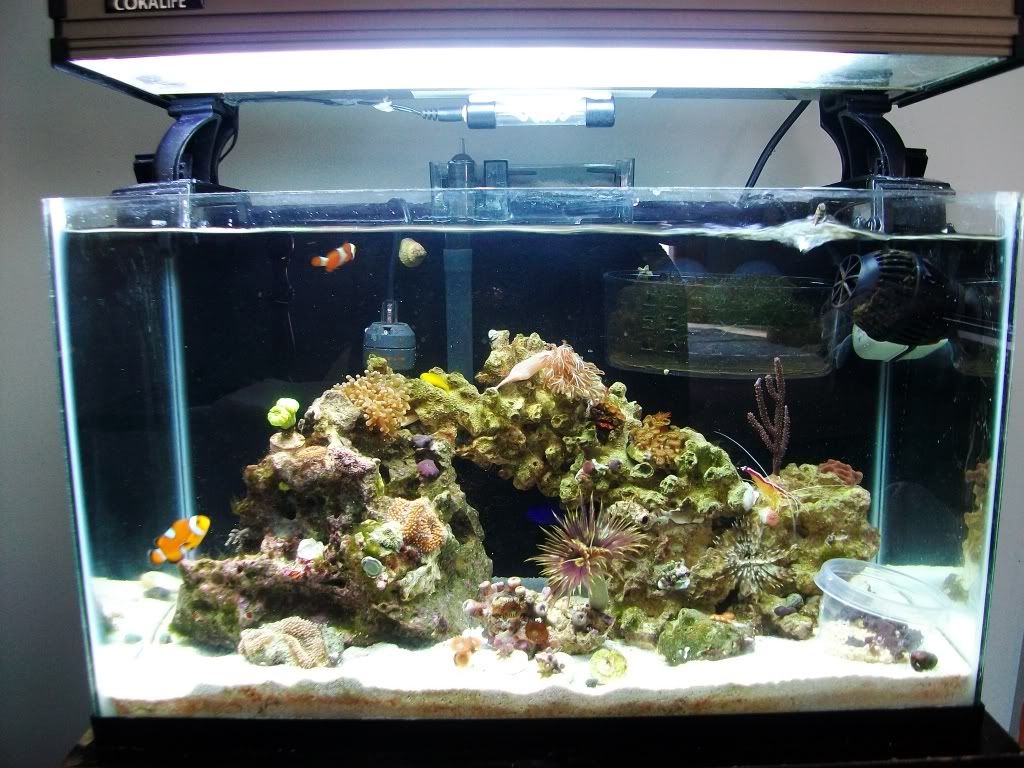
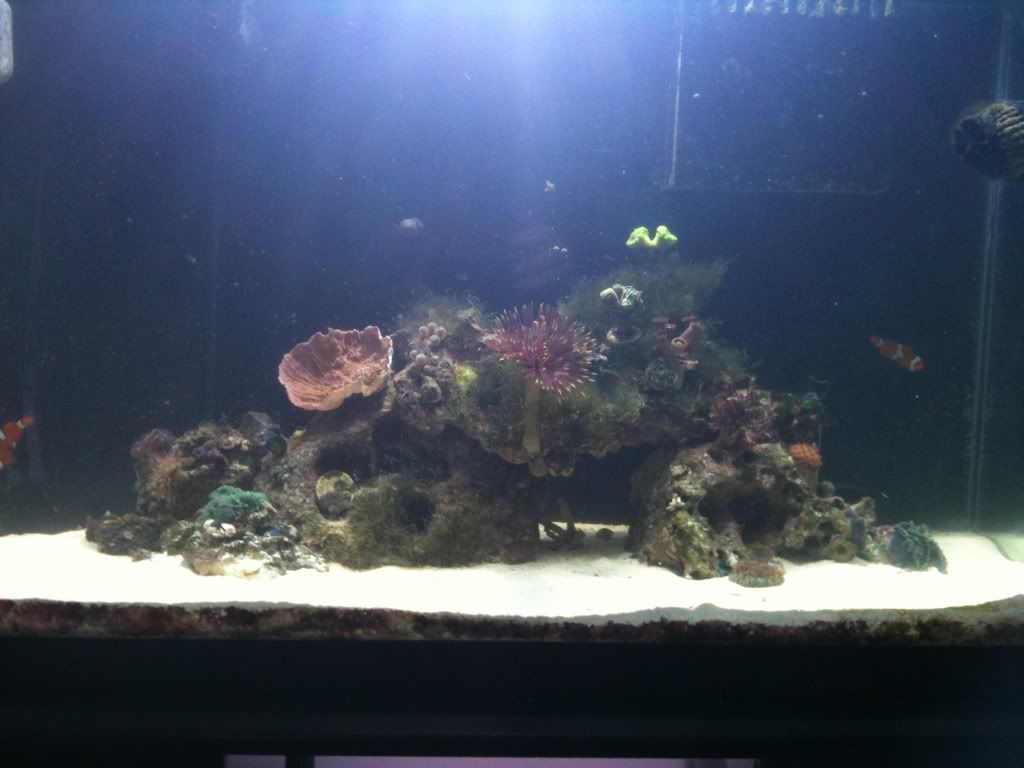
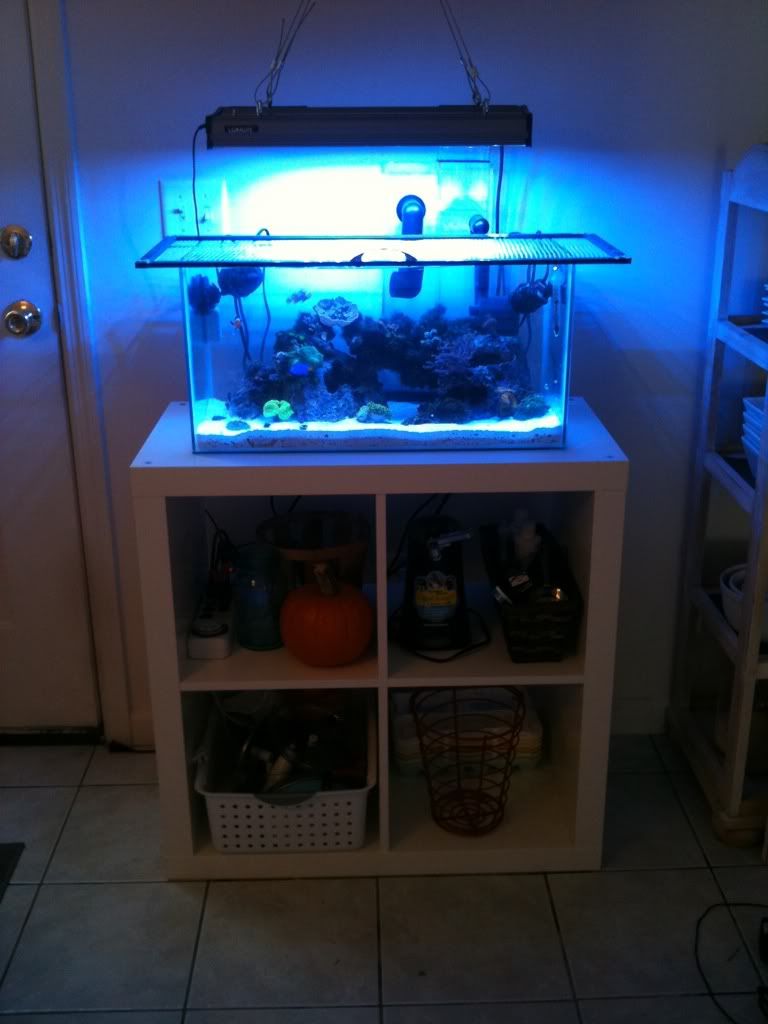
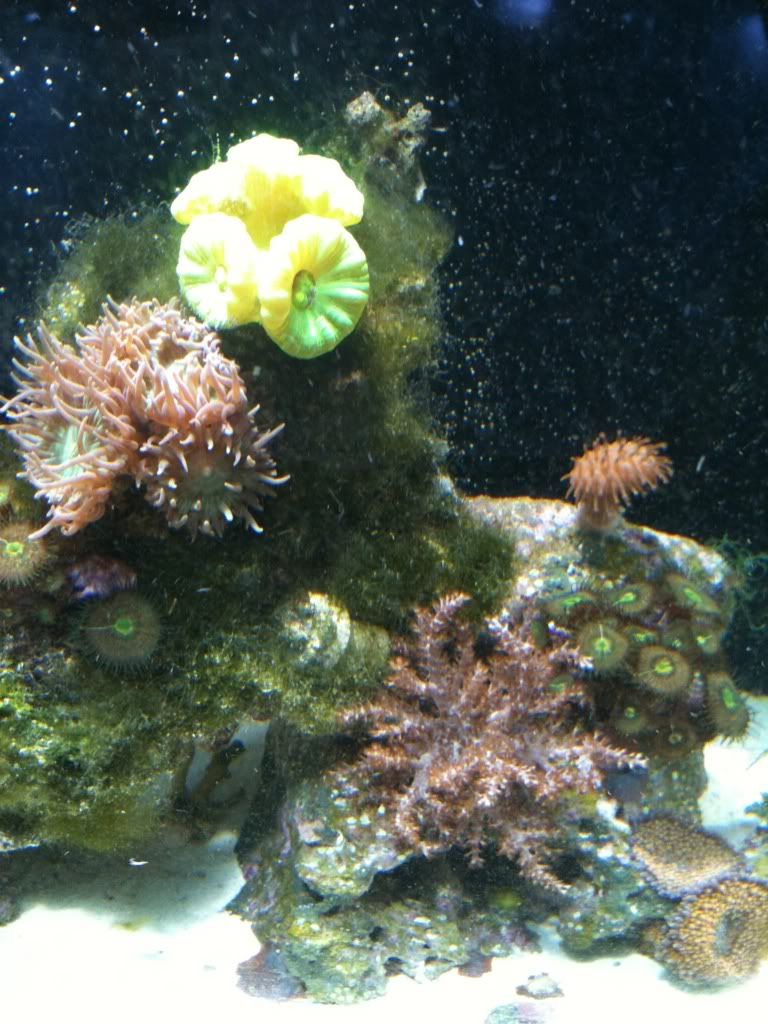
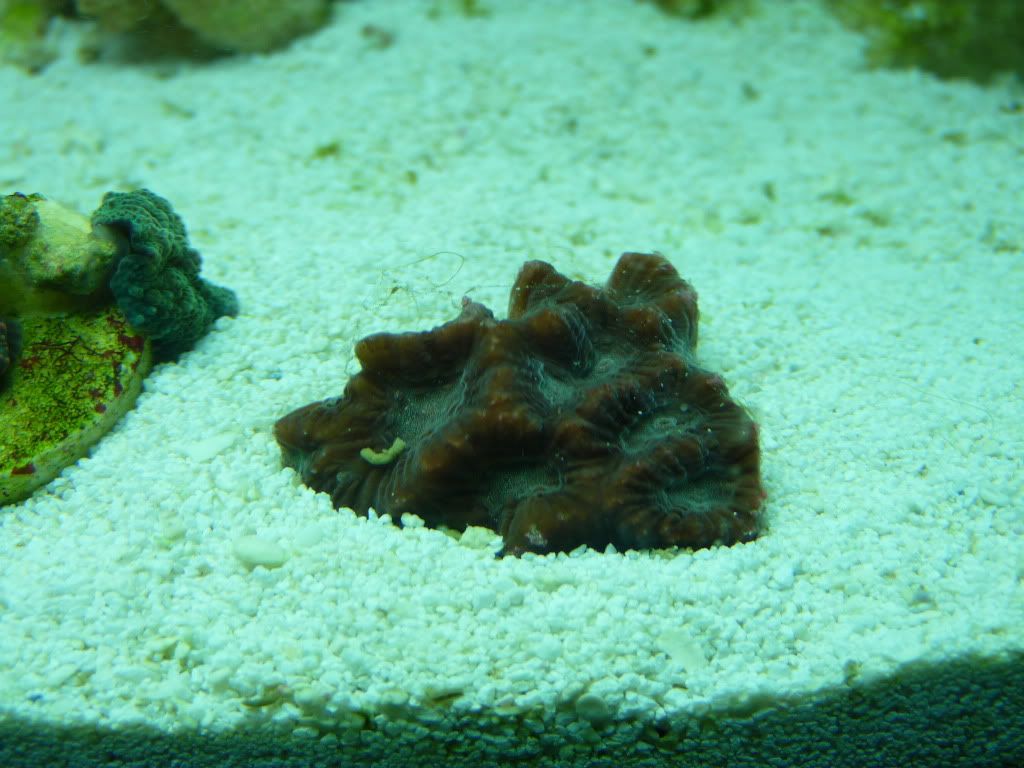
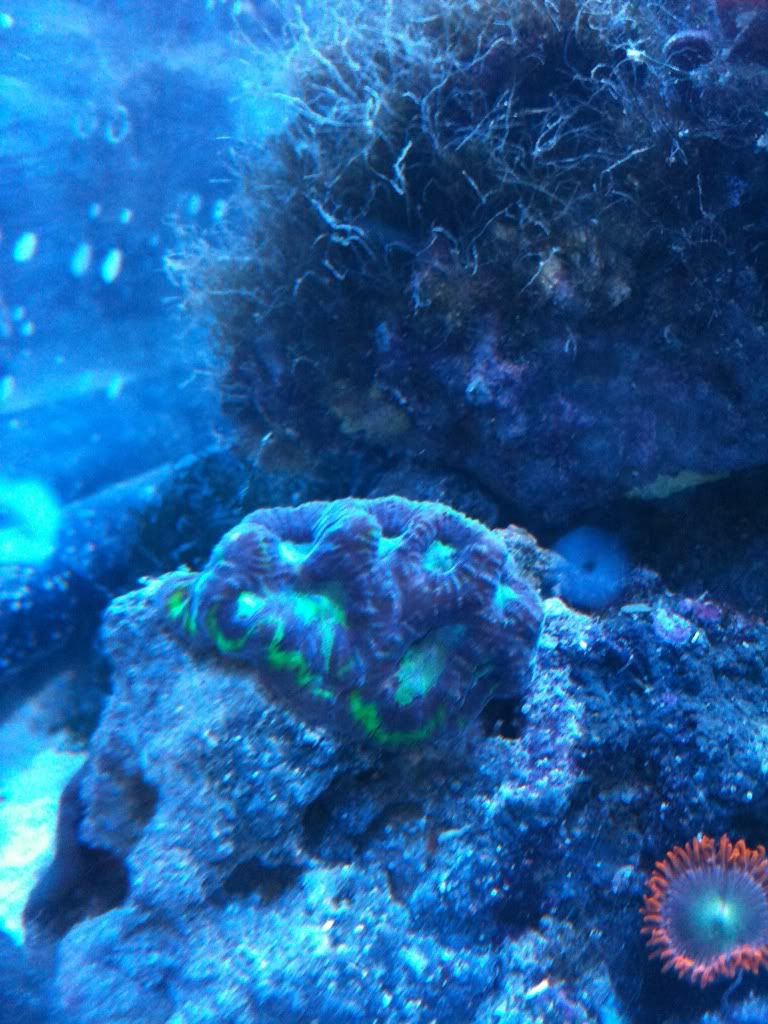
This corner is much the same. Fish tank is in a black-out period to kill algae. The big pile is really just a box of vintage sheets (project!) and aprons. Hoarder.
Finally hung up my hair-accessory bins, and pared the bed side table down to just Day of the Dead skulls :-) Good stuff!

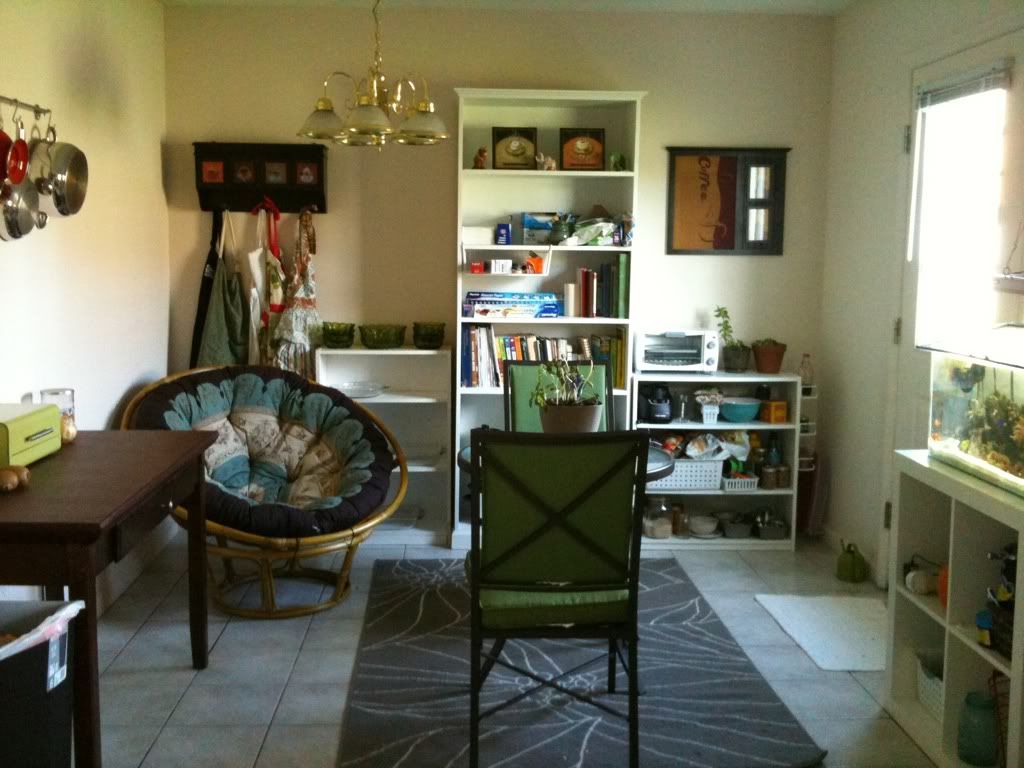
What happened to the papisan chair, you ask?
It migrated to the kitchen, where we can now cook and hang out indefinitely :-)
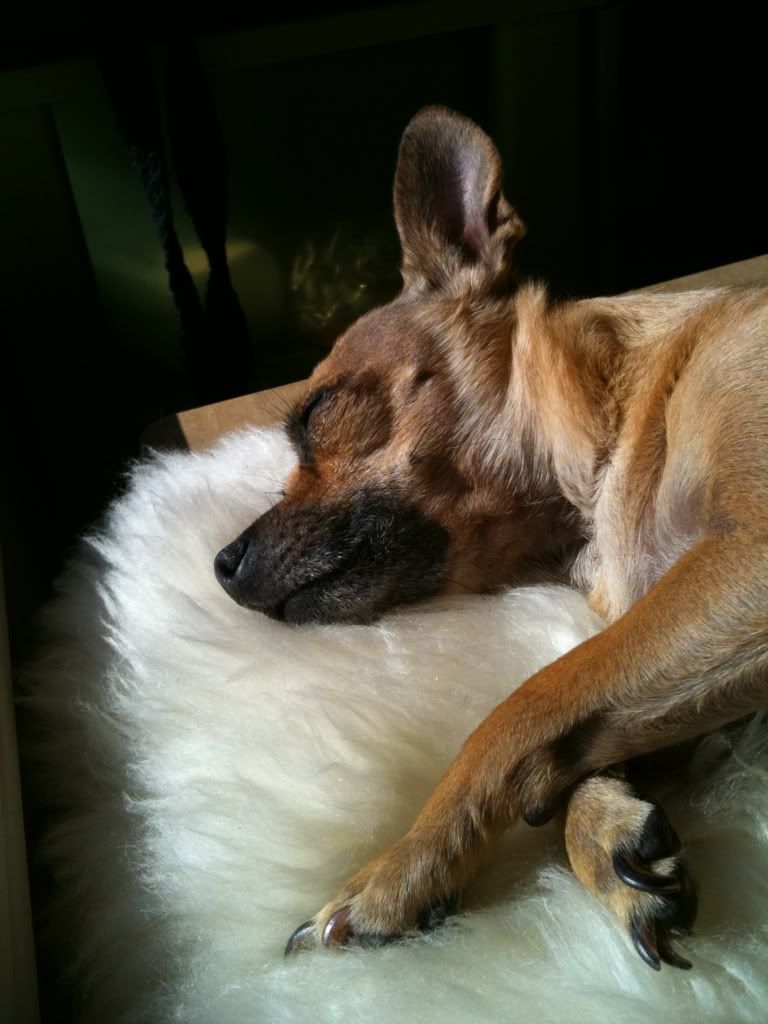
And someone wore herself out with all that work :-)
Hope you all are having a good start to your week too!~Sarah


Sunday, October 23, 2011

Countdown to Halloween! Pumpkin Carving time!

Hey there Ladies and Gents. We are now 8 days away from Halloween Day! I also call this the beginning of the craziest 2 months of the year. Today I am going to talk about Pumpkins! Sadly the pumpkins in my garden didn't make. My hubs and I think it was because of the use of a hybrid seed when we did the original planting in the Spring. We at the Thrift house do not believe in doing easy pumpkins, our pumpkins are always way more difficult than they have to be. We almost always do two, one that Shane and I like and one for Cheyenne. This year Shane and I's pumpkin is going to be the Black Pearl, and Cheyenne's pumpkin will be Vampire Mickey Mouse. I found these pumpkin templates on http://family.go.com/disney/pkg-disney-parties-and-holidays/pkg-pumpkin-templates/ Templates make carving fancy pumpkins super easy.See you Wed. for part 2 of making daisy Salve!!!


Thursday, October 20, 2011

Pretty, Pretty Princess


Anyone remember that game? All I remember about it was that the point was to put on all the jewelry, right?

Anyway! For Halloween this year, I've been working on a princess dress for my niece, who is 5. There is nothing more fun than ruffles, and ribbon, and poof, and glitter. I guess except when it's all over the floor (sorry roomie!)

I finally finished everything today and, if the shoes get done tonight and are dry, it'll go in the mail tomorrow! I'm excited, and I really hope she likes it. And it fits. That would be tragic. I did make it a little big so that she could grow in to it, so I guess that is a concern.

Without further ado, I give you... THE PRINCESS DRESS.

The Whole Shebang. It's hot pink, not red, I swear.

Bodice detail. I love the ruffled velvet ribbon.


The whole top. I love the sweetheart neckline.

Lots. Of. Ruffles. 
Hem detail. Finally using some of my fancy schmancy stitches!

The back. Sad they didn't have the right colored zipper. Tiny little train. 


I also made matching shoes, because a girl can never have too many! And WHAT IF THEY DIDN'T MATCH!? My first attempt was with scrapbooking microfine glitter. It was neat stuff, but the wrong color (too purple.) So, this morning, an emergency Hobby Lobby trip was in order! You can see the second attempt is much better, and much SHINIER!
We like shiny.

I bought some foofy silver trim to put around the black edges, but they were freshly glittered in this picture. The whole process went as follows: mod podge, glitter, repeat, clear coat with spray paint. I might repeat it when I get home. That's it, and you have some FABULOUS shoes ;-)

**Update! Almost forgot, I made a matching necklace and bracelet set that's just like my mom's that I've loved forever!

I also made some of those fabulous pens that Patricia recently posted about! I grabbed some pens and flowers from the dollar store and used some floral tape I had sitting around. For my "fall" pens, I stuck them in a mason jar full of kidney beans. Total cost for all the supplies: $4.

"Fall"

"Winter". I'll put these in epsoms salts when they go out on the desk :-)
 In non-frilly news, here's a picture of the new tank without the blue lights on, so you can see a little bit more what's going on!
And all four fish!

Hope you all have a good weekend, and stay warm! It's frigid here!
~Sarah


Wednesday, October 19, 2011

Planning a Halloween Party of kids and adults together!

Last weekend the Thrift Clan and our really good friend's family decided to throw a GA/FL football game/Halloween Party. They have 3 kids and find it very hard to find a sitter, so we decided to have the party so its semi kid friendly by having fall festival games and activities for the kids as well as the normal adult games. So last night in 45 minutes we planned the entire party from food to prizes. By planning a party with another family we will both save a ton of money! Our goal is to be as thrifty as possible. The games and activities for the kids we have planned are a spooky maze, candy corn catch, guess how much candy is in the jar, pin the tail on the black cat, bobbing for apples, needle in a haystack, and a relay race. For the adults it will be lots easier, there will be beer pong, corn hole, and horse shoes. My favorite part of throwing any party is making jello shots, and for Halloween it makes it even more fun and interesting. So off to google I went, and I came up with 4 great jello shots to make! Here are the recipes, I hope you can use them! And please be responsible while drinking, always have a Designated Driver! See you Sunday!

Caramel Apple
Start with a large glass measuring cup and measure 1 cup of boiling water. Dissolve 1 envelope of Knox Gelatin and stir until fully dissolved. Add 1/3 cup of cold water, 1/3 cup of Butterscotch Schnapps , and 1/3 cup of Sour Apple Schnapps. Stir well and cool before pouring into jello shot cups.

Voodoo Daiquiri
Start with a large glass measuring cup and measure 1 cup of boiling water . Dissolve 1 package of Grape Jello (3 oz) and stir until fully dissolved. Add 1/3 cup of cold water , 1/3 cup of Vodka, and 1/3 dashes of Bourbon. Stir well and cool before pouring into jello shot cups.

Creepy Crawlers
Start by measuring a cup of boiling water into a large glass measuring cup. Dissolve 1 package of jello (3 oz) for about 2 minutes. Add 3/4 cup of Vodka and 1/4 cup of cold water and stir well. Cool until the liquid is about room temperature (so that you don't melt your cups). Then, pour the liquid into individual jello shot cups. Garnish with a gummy worm or two in each cup and chill until firm.

Highway to Hell
Start with a large glass measuring cup and measure 1 cup of boiling water. Dissolve 1 box of Cranberry Jello and stir until fully dissolved. Add 1/2 cup of cold water, 1/4 cup of Vodka, and 1/4 cup of Amaretto. Stir well and cool before pouring into jello shot cups.


Screwdriver to the Head
Start with a large glass measuring cup and measure 1 cup of boiling water. Dissolve 1 box of Orange Jello (3 oz size) and stir until fully dissolved. Add 1/2 cup of cold water and 1/2 cup of Vodka. Stir well and cool before pouring into jello shot cups.

Yellow Poison
Start with a large glass measuring cup (a 4 cup measure is a good size) and dissolve a package (3 oz) of Lemon Jello in 1 cup of boiling water for about 2 minutes. Add 3/4 cup of Lemon Vodka or Citrus Vodka and 1/4 cup of cold water and stir well. Cool slightly before pouring the jello mixture into individual jello shot cups. Chill until firm (about 3-4 hours). I love me a good lemon drop cocktail and I have to say that lemon drop jello shots are mighty fine too. If you're out of lemon or citrus vodka, regular vodka will do and if you want to crank up the citrus flavor, consider adding 1/2 an ounce of lemon juice.

Swamp Water
Start with a large glass measuring cup (a 4 cups is a good size) and dissolve one 3 oz package of cherry or black cherry jello in one cup of boiling cola (Coke is definitely my favorite) for about 2 minutes. After the package is completely dissolved, add 1/2 cup of cold cola and 1/2 cup of light rum. Cool until the liquid is warm but not hot before pouring into cups. Pour the jello into individual jello shot cups and chill until firm.


Monday, October 17, 2011

Salty Seas

Perhaps this is not so hippie, but I can't contain my excitement. I've had a saltwater tank, in various incarnations, for almost a year now. Recently, I moved the tank into my new apartment, and made some upgrades and changes! Although I personally love my tank because I love marine environments and love watching everything grow, they are also relaxing and therapeutic, and great for kids to watch! They do tend to be pricier than regular fish tanks, but usually because you just want bigger and better stuff! If you're interested in starting your own, I would look around your area and see if there is a local reef society to join. Other peoples' experiences are invaluable!

Anyway. Like I said, my favorite part of keeping corals is that it's just like an underwater garden: I like watching things grow! So, in honor of almost a year, let's take a trip down memory lane, and look at some before and afters!


This is my first tank. It was a 10 gallon rimless. Lovely, simple, and totally empty right here!

And here it is, right before I upgraded to a bigger tank.


Amazing, huh!
Then I moved it to a 29 gallon aquarium, and, unfortunately, it was near a window and grew a TON of algae. Lesson learned. Here's what that looks like:


Bigger, but definitely dirtier! This one also had a new metal halide light, that sucked up a lot of energy and produced a lot of heat. Bad hippie!

And finally, some friends and I moved it this weekend to a 15 gallon, with a brand new LED light, that is amazing, but doesn't photograph well! I swear it isn't that blue in real life.


This one is a bit more manageable, time and money-wise, and wastes less water space. The LED fixture also puts off practically NO heat, and takes a fraction of the energy. Sarah is an excited Sarah.

Now comes the fun part! Here are some comparison shots of things when I first got them, and now! You can see how much growth happens!

This was one of my first corals. It's called a trumpet (or a candy cane, depending on which you prefer. It's kind of like plant names.) It had two "mouths" when I got it, and was just a cute little thing.


This is what that same coral looks like today:


Wow! Now it has 7 mouths, 2 of which it's added in the past few days! Amazing!

Here is my Kenya tree, which hitchhiked on the rock that I got from a friend.


And here it is a few days ago (you can also see the trumpets here!)


Pretty good for a free coral!

And finally, here is one that is called a favia. I got it for $5, and wasn't sure if it would do anything or not. It was just kind of a boring red with a little bit of dark green in the middle.


And here it is today:


You can also see how different the same corals can look under different lights! It has also grown out over the rock a lot.

I hope you all found this interesting and informative. Growing corals can be just as satisfying as growing any plants (and it's a good thing to do when the weather drives you inside!)  Do any of you have saltwater tanks?

~Sarah

Sunday, October 16, 2011

What does sustainability mean to you?

Today I am going to pose a question to you readers. What does sustainability mean to you? For our family it means being able to provide for us on our 1 acre as much as possible. From growing a large vegetable garden, canning foods, and having chickens for eggs and meat. I can't wait to see what sustainability means to you!

Friday, October 14, 2011

Daisy Salve Part 1.

Here in the deep south of GA we have to be different... Instead of having daises blooming in the spring they bloom in the fall. I have been semi patiently waiting for their blooming so that I can start the process of making daisy salve. It is well known and documented that daises are a bump, bruise, pain reliever. Here is the recipe I am using, its super easy. http://www.crunchybetty.com/vintage-remedies-%E2%80%93-make-daisy-salve-for-bumps-bruises#respond
I had some great helpers while I was preparing everything, they had to inspect everything I was doing. In 2 weeks we will proceed to the actual salve making part.


Wednesday, October 12, 2011

Wrapped pens! And Twin stuffs!!!

Hey blog world sorry I have been MIA, but there hasn't been a whole lot going on lately. But today I have changed all that with 2 awesome crafts!!! One is purely a Dollar Store craft that will cost you about 3.00, the other costs a little bit more but is an awesome shower gift! Ok without further adieu here are the pics and tutorials and maybe a little bit of Awwww mixed in! Seeya Sunday!!!!

First Up is flower pens, we have all seen these too cute pens at the Drs. Office or in the Salon. I decided it would be nice to give these to my scout parents during the girls investiture ceremony as a thank you for investing in their daughters. This is the Dollar Store craft everything you need other than the glue gun and cutters will cost around $3.00.
What you need:
Cap Pens, Opaque Tape, Silk Flowers, Glue Gun, and Cutters
Step 1: Uncap pens and make sure they all work before anything else.
Step 2: Cut the flowers off as flush as you can get them to the bottom of the flower.
Step 3: Wrap the pens from where the tapered writing end starts, wrap tightly and diagonally.
Step 4: When you are done wrapping put a drop of hot glue on the end of the pen and attach silk flower.
Step 5: Arrange Flower Pens in a mason jar or vase and enjoy!


Most of you readers don't know this but I am not so patiently awaiting the arrival of my identical twin nephews! I am super excited and have finally started buying things and crafting for them! At every shower I go to, be it a baby shower or house warming there is always a gift that is left out. Laundry Baskets! So at most every shower I am invited to attend I make one of my signature Laundry Baskets with flare and fill them with all sorts of fun stuff! And just because they are twins, doesn't mean everything has to be the same. Their room is going to be jungle/safari themed so I did one basket in Giraffe print, and the other in Leopard print.This craft will run you a bit more than the first craft I was able to do the 2 for the twins for around $14.00 and that's only because I found the actual baskets on sale at Michael's for $5.00.

Laundry Baskets With Flare!
What you Will Need:
Wicker Laundry Basket, Ribbon
Step 1: Remove All ribbon from the spool.
Step 2:Start in the Middle of the front of the basket. Leaving about 6 inches of ribbon dangling from the start, wrap ribbon around the openings at the top of the basket.
Step 3: When you have made it all the way around, even up the ribbon ends.
Step 4: Tye ribbon ends into a small bow.